
The movement is disassembled and now it is time for further inspection, cleaning, servicing the mainsprings, pegging the pivot holes, polishing the pivots and installing bushings where needed. In this, Part III we will cover cleaning and mainspring servicing.
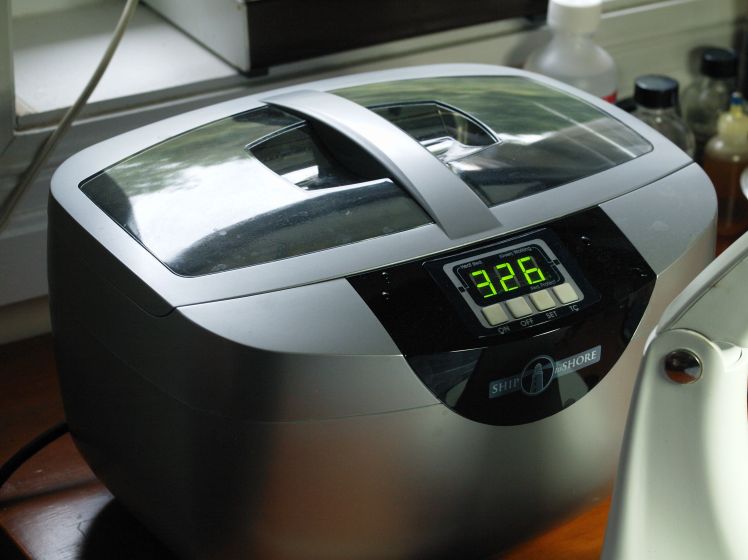
I have a small ultrasonic cleaner so I tend to clean parts in batches since this one does not have a large capacity. An ultrasonic cleaner is not an absolute must as you can easily clean by hand but having one certainly helps.

Old toothbrushes are great for getting into the crevices and I use one especially for the lantern pinions as a lot of dirt and old oil tend to accumulate in those particular areas.

This photo shows a couple of bushings that I will install. I realize that some prefer to install bushings by hand and I applaud them as it does take considerable skill but I use a Bergeon Bushing Machine which I believe simplifies the task (for me, at least). More on bushing in the next part of this series.

An Olie Baker spring winder is an indispensable tool. You can easily make one of your own to save a little money if you are handy with building things. A spring winder permits you to inspect for cracks or breaks, clean and oil the springs before reinstalling them. The photo shows a C-clamp securing the mainspring prior to cleaning.
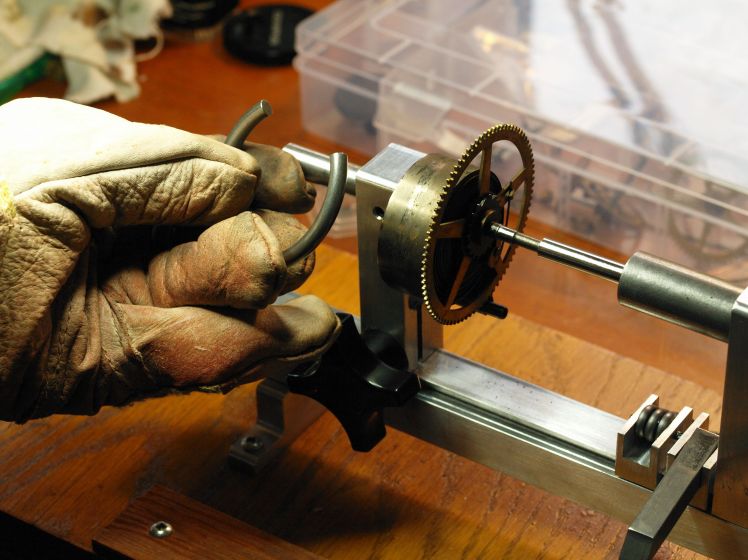
I have never lost an eye or a finger but I believe in safety first especially when working with mainsprings. Always wear leather gloves and eye protection. You never know when a 100 year old spring will break and fly across the room.

I discovered that one click had to be replaced as it was almost slipping off the ratchet. As some clock repair folks know, Sessions clocks have a reputation for bad clicks. I had a Sessions click in my supply box, fortunately. It is an easy job; just take the old one out with pliers, secure the new click and bang the rivet (supplied) into the existing hole with a ball peen hammer.

The springs have been cleaned and oiled with Keystone Mainspring Oil and are completely serviced including the installation of one new click. Now comes the bushing work, re-assembly and testing. Stay tuned to Part IV of this series.
Discover more from Antique and Vintage Mechanical Clocks
Subscribe to get the latest posts sent to your email.

Great website. Lots of helpful info here. I’m sending it to a few of my friends. thanks for your hard work!
LikeLike
Thanks for dropping by.
Ron
LikeLike