There are thousands of clock photos on the internet, ranging from stunningly detailed images to blurry, poorly lit snapshots. As an amateur photographer, I appreciate the effort some put into capturing high-quality images, but it’s frustrating to see clocks photographed in poor light, out of focus, or with distracting backgrounds.
Whether you are showcasing a clock for someone to appreciate, preparing a clock for sale, documenting the history of the clock, sharing photos with fellow clock enthusiasts, or recording for repair or maintenance, good photos ensure that the clock’s details, condition, and story are accurately captured, making it easier to appreciate, evaluate, or restore the antique or vintage clock.
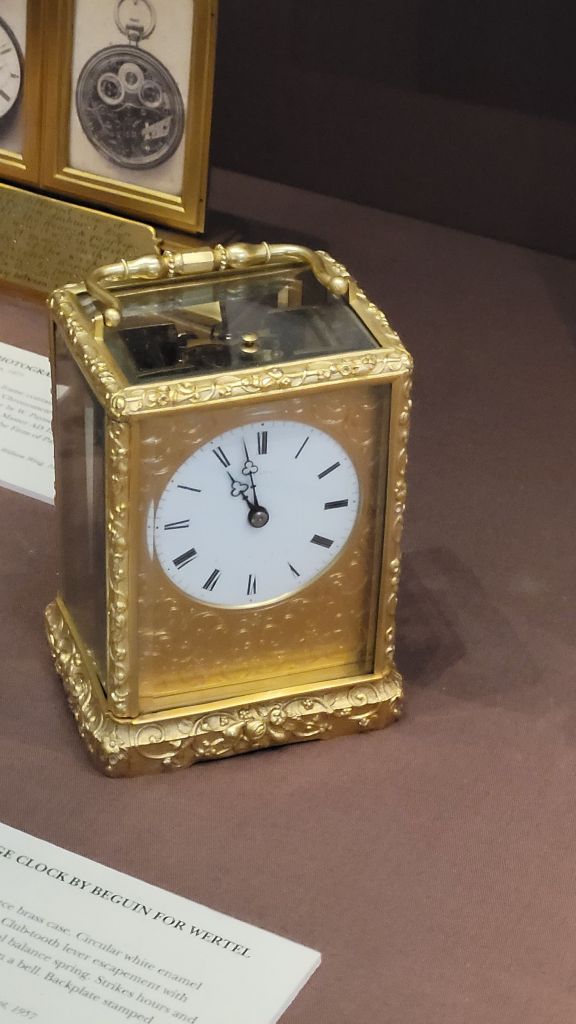
A Missed Opportunity: The Case of the Blurry Bracket Clock
I once saw a bracket clock advertised online. The photos were terrible—blurry, dark, and lacking detail. However, I recognized key features and inquired. As it turned out, I was the only one interested! The clock was in excellent condition, the movement looked like it “came off the showroom floor,” and I got it for a bargain. Had the seller taken better photos, they would have likely made much more money.
To help you avoid such mistakes, and ensure your photos truly capture the essence of an antique or vintage clock, here are my 7 essential tips for photographing clocks effectively.
1) Camera Choice: Use the Right Tool for the Job
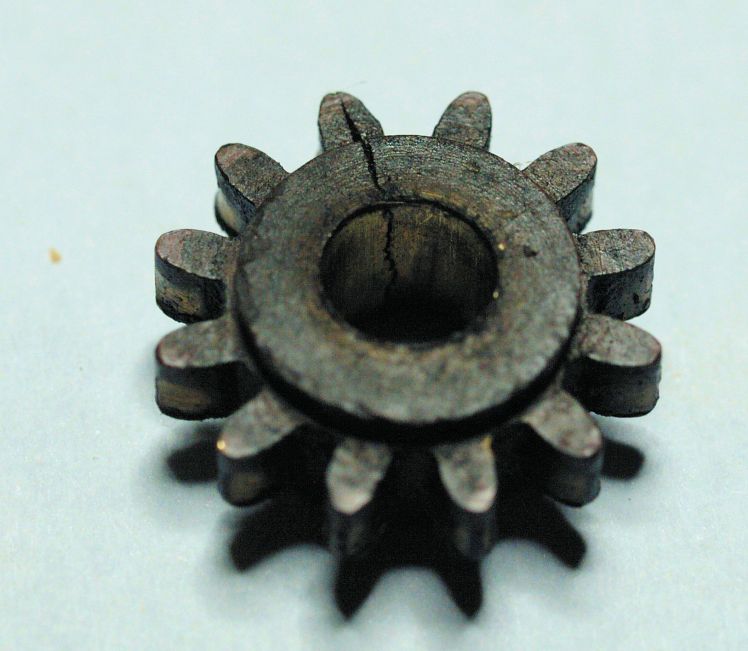
- I use a very old Olympus interchangeable lens camera with a 50mm macro lens—old but highly effective and it has excellent macro capability. Macro lenses capture intricate details like dial markings, movement engravings, and gear mechanisms.
- If you don’t have a macro lens for your camera, consider:
- Magnifier lenses that screw onto standard lenses
- Bridge cameras, which are budget-friendly and offer good close-up shots
- Telephoto or zoom lenses used at a distance for better focus
- Cell phone cameras are constantly improving, and a high-quality model can capture excellent images. However, cropping and zooming can be challenging since most cell phones rely on digital zoom, which reduces image quality and detail when magnified. In addition, there is less creative control with a cell phone.
Bonus Tip:
Some newer Interchangeable lens camera models feature post-capture refocusing—a game-changer for horologists! This function focus stacks multiple images, letting you adjust the focus after taking the shot.
2) Stability: Avoid Camera Shake
- If your camera allows you to adjust the shutter speed, set it to at least 1/100 of a second or faster to minimize camera shake and ensure sharper images.
- Use a tripod to eliminate blurriness—especially in low-light conditions. I use a professional tripod which I acquired many years ago and it still performs well.
- If you don’t have a tripod, try:
- Place the camera on a steady pile of books
- Place the camera on a secure surface, stage the shot, and use a remote shutter release or a timer to avoid shaking


3) Lighting: Good Light = Great Photos
Lighting can make or break a photo. Here’s how to get it right:
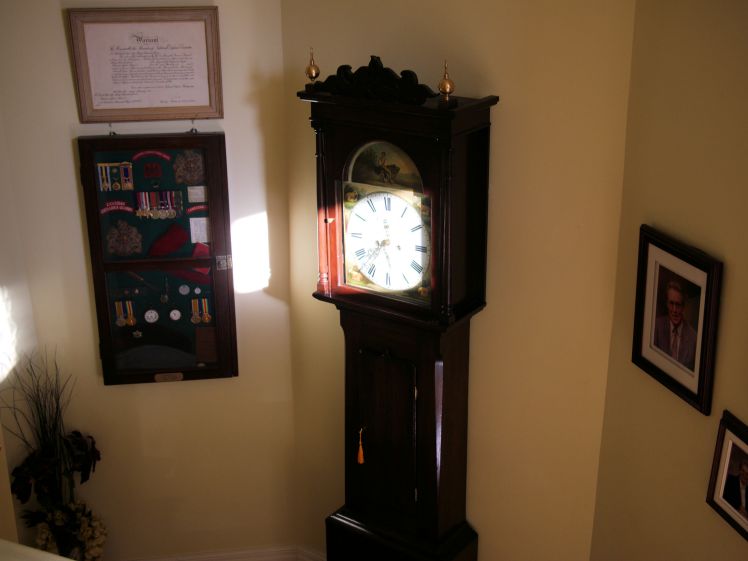
- Use natural light whenever possible—place the clock near a window so the light falls on the clock for soft, even illumination.
- Avoid using a harsh flash, as it can cause glare by reflecting off glass and metal surfaces. If you’re using direct lighting, make sure to position the light in a way that prevents reflections on glass surfaces.
- Indirect lighting works best. If needed, use a continuous lighting kit or a softbox for diffused light.
- Use reflectors (a white sheet, foam board, or even aluminum foil) to bounce light into shadows.

Bonus Tip:
If your camera allows lossless shooting in Raw format, shoot in RAW to adjust color temperature in post-processing for accurate tones.

4) Minimize Distractions: Keep the Focus on the Clock
- A cluttered background distracts from your subject.
- Remove unnecessary objects or use a neutral backdrop (a white bedsheet works in a pinch).
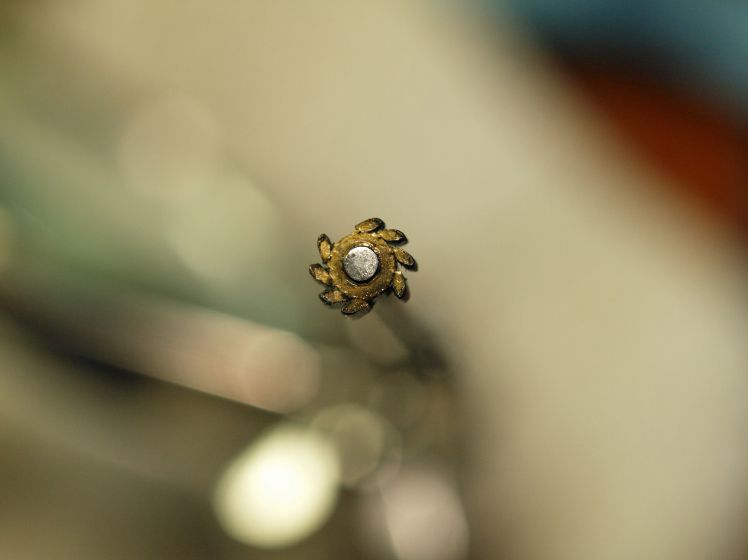
- Consider a macro lens with a large aperture to separate the object from its background so as to blur the background and make the clock or part of a clock stand out.


5) Cropping: Less Is More
- Crop out unnecessary distractions for a cleaner, more impactful image.
- Focus on key details, such as:
- Clock faces
- Movements
- Engravings
- Pendulum design

6) Composition: Guide the Viewer’s Eye
Good composition makes an image stand out. Here’s how:

- Use a large aperture (low f-stop) to create depth, drawing focus to key areas.
- Follow the Rule of Thirds—place the clock slightly off-center for a balanced composition.
- Experiment with angles and lighting to showcase details and avoid shooting straight-on.

7) Resize for the Web
- Large images slow down websites. Resize them before uploading.
- some websites have image size limits. The image will not be accepted for publication otherwise.
- 800–1200 pixels wide or an image under 1 mb is usually ideal for online use.
- Resizing also helps protect your images from unauthorized use if copyright protection is a priority.
- If you are a blogger resizing your images before uploading not only improves website performance but also helps conserve storage space on your server. Large image files can take up unnecessary storage, so optimizing them ensures a smoother experience for both you and your readers.
Final Thoughts
Photographing clocks isn’t just about taking a picture—it’s about telling a story. Whether you’re selling, showcasing, or documenting a restoration, good photography enhances appreciation and value.
Do you have any photography tips of your own? Share them in the comments!
Discover more from Antique and Vintage Mechanical Clocks
Subscribe to get the latest posts sent to your email.

Good morning Ron.
once upon a time I went down the photography rabbit hole and had $1000’s of dollars of Nikon equipment. Today I use a point and shoot digital camera that has a macro function. I don’t use my phone for clock repairs as there are too many steps required to view the pics on a computer screen. The digital camera allows it to be tethered to the laptop on my clock bench which makes viewing pics during clock repair a breeze.
LikeLike
Cell phones have their place but they are too limiting in my view.
LikeLike
Ron, again, another outstanding article on photo graphing clocks!
Kimsey
LikeLike
Thank you.
LikeLike