In Part I of this series, I shared my approach to restoring a clock dial through a process called inpainting. Inpainting is but one solution to the problem of a ruined dial. To restore a clock dial by bringing it back to its original state involves carefully mixing paint to match the original tones, gradually building up layers to cover exposed metal, and remedying prior modifications that detracted from the dial’s appearance. I also highlighted the challenges of repainting, emphasizing the precision and patience required. Part I concluded with the groundwork laid for further work on the dial.
The clock is an Arthur Pequegnat Jewel, manufactured before 1917. The exact year of manufacture is uncertain, as Pequegnat did not date stamp their clocks. The approximate period of manufacture is confirmed by the maker’s stamp, which includes “Berlin,” the original name of what is now Kitchener. The city’s name was changed in 1917 due to sentiments arising from the Great War. So, the clock was made somewhere between 1904, the first year of production for Pequegnat clocks, and 1916.
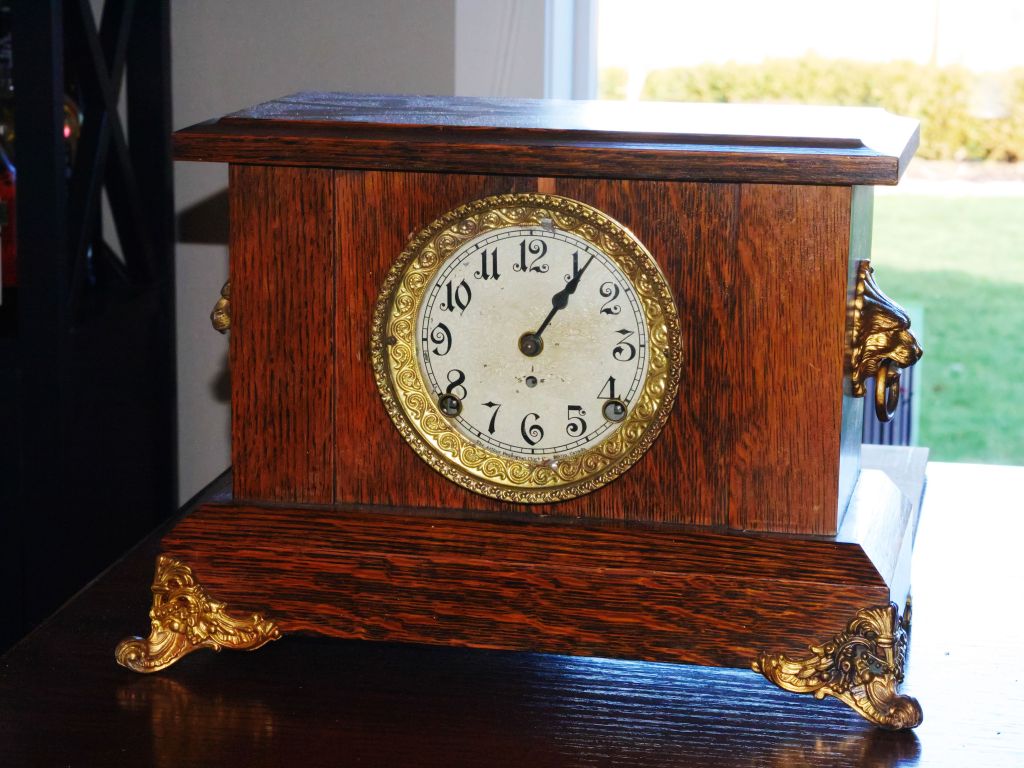
This model shares the exact case dimensions as the Simcoe but lacks certain decorative elements, making it one of the more affordable mantel clocks in their range.
The clock case features a piecrust dial bezel like the Simcoe, which was later replaced by a plain bezel in later years.
In terms of the dial restoration, Part II will build on the inpainting progress by applying additional coats, enhancing details like the numerals and chapter ring, and bringing the dial closer to its original elegance.
More Work Required on the Dial
After the second coat, the bare metal is still visible, indicating that at least one or two more coats will be necessary.
I decided to continue a shade darker for the next layer by adding a touch more brown, and after more thought, darker still for the next coat or two. Even at this stage, I’m beginning to notice a pleasant transformation in the dial, shifting from its stark metallic appearance to a more pleasing shade of cream.
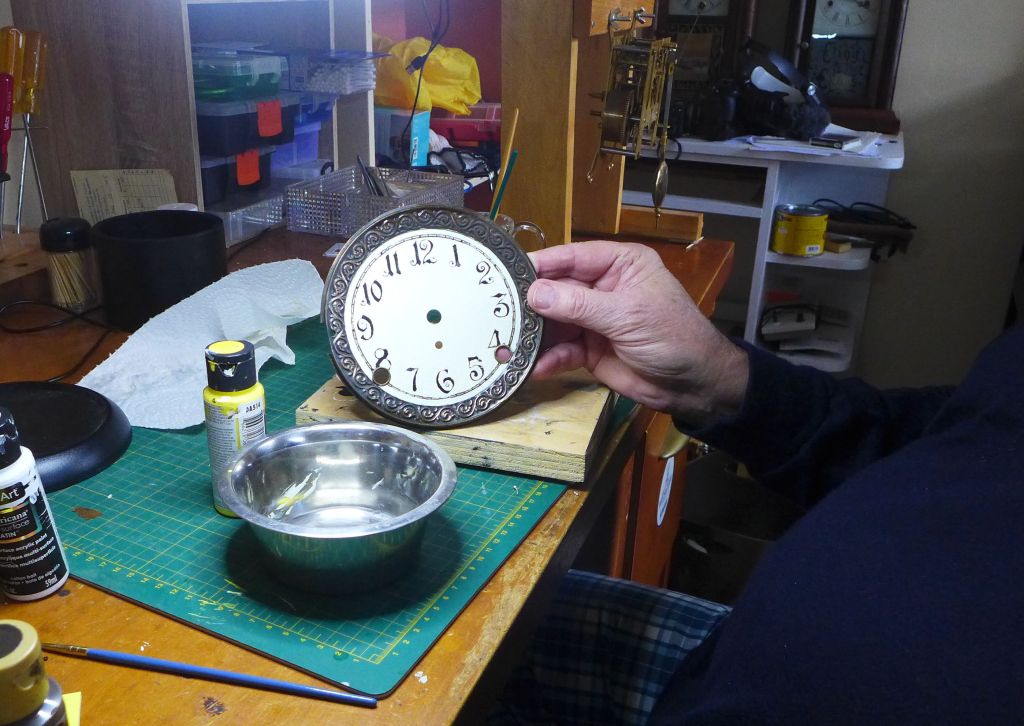
For the third coat, I aimed to soften the yellow and achieve a more aged look. It’s rough at the moment, but I’m confident it will come together once I start applying black paint to the numerals. The good news is that the bare metal is no longer visible.

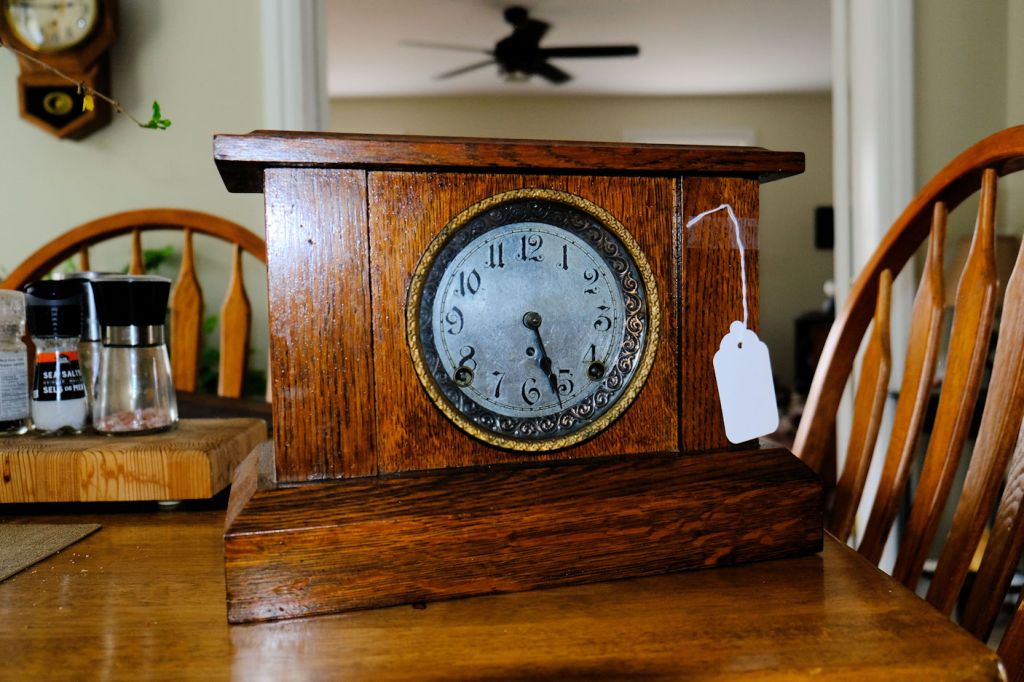
When placed against the case, the repainted dial is an improvement, but it’s clear that I’ll never fully replicate the original dial, even with my try at aging it.
The fourth coat has fully concealed the tin beneath, so, I’ll stop here. Next, I will focus on the numerals, using an artist’s detail brush and a Sharpie Ultra fine-point pen to carefully restore them.

Since the stripping process compromised the original numbers, I’ll use my Simcoe as a reference to reshape and refine their appearance. I’ll allow the paint to cure fully before moving on to the next step.
After cleaning the bezel, I noticed a distinct difference between the glass surround and the dial bezel. The glass surround has a brassy gold appearance, while the dial bezel exhibits a bronze-like tone. Although brass is an alloy of copper and zinc, with variations in composition potentially explaining this difference, I suspect that’s not the case here. Instead, I believe the glass surround was painted gold, as small flakes of paint came off while I was cleaning it with a toothpick. The bottom line? Best to leave it as is. Or match the outer bezel to the inner one? I’d have to think about that.
Here is the final result after a few touch-ups with black paint and some light polishing of the glass and both bezels.
Is it an improvement?

While it does not hold up to close scrutiny, there’s no denying it looks much better when viewed from a comfortable distance.
With the dial restored and the case cleaned, the final step will be servicing the time and strike movement to bring the clock to its full potential. While the improvement comes with its compromises, it’s satisfying to see the progress so far, and I’m eager to have this clock run smoothly after servicing.
Discover more from Antique and Vintage Mechanical Clocks
Subscribe to get the latest posts sent to your email.

It is a big improvement👏👏
LikeLike
Thank you.
LikeLike
Hello I just wanted to compliment and thank you providing all of your emails concerning vintage clocks. I subscribed to your newsletter after purchasing a 1970’s wall clock with trip
LikeLike
Thanks! You’ve officially caught the clock bug. I started with just one or two, and now my house is filled with clocks!
LikeLike