Clock repair and restoration can be a rewarding yet delicate process, requiring both skill and patience. Whether you’re working on an antique clock or a vintage movement, there are several common pitfalls that can easily derail your progress if you’re not careful. From handling mainsprings to ensuring proper oiling, small mistakes can lead to bigger issues down the road.
In this article, we’ll explore some of the most frequent mistakes made during clock repair and share tips on how to avoid them, ensuring your repairs are both successful and long-lasting.
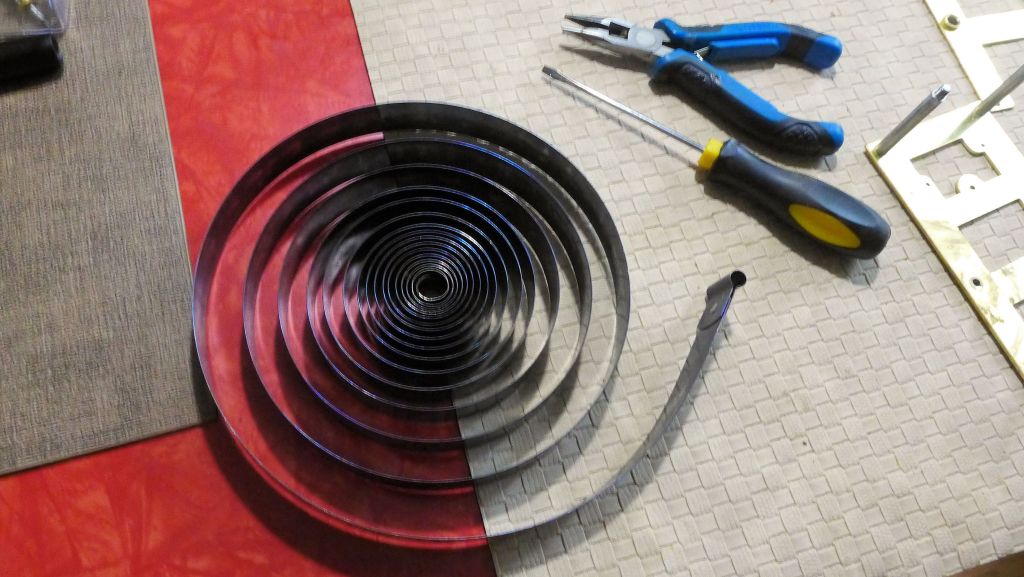
Mainsprings
When working with mainsprings, always be cautious about how they are stored and handled. If two mainsprings are placed on top of each other, they may mate together in a way that makes it nearly impossible to separate them without damaging the springs. To avoid this, always position them so that they wind in opposite directions. This ensures they cannot interlock and will be easy to handle separately when the time comes.
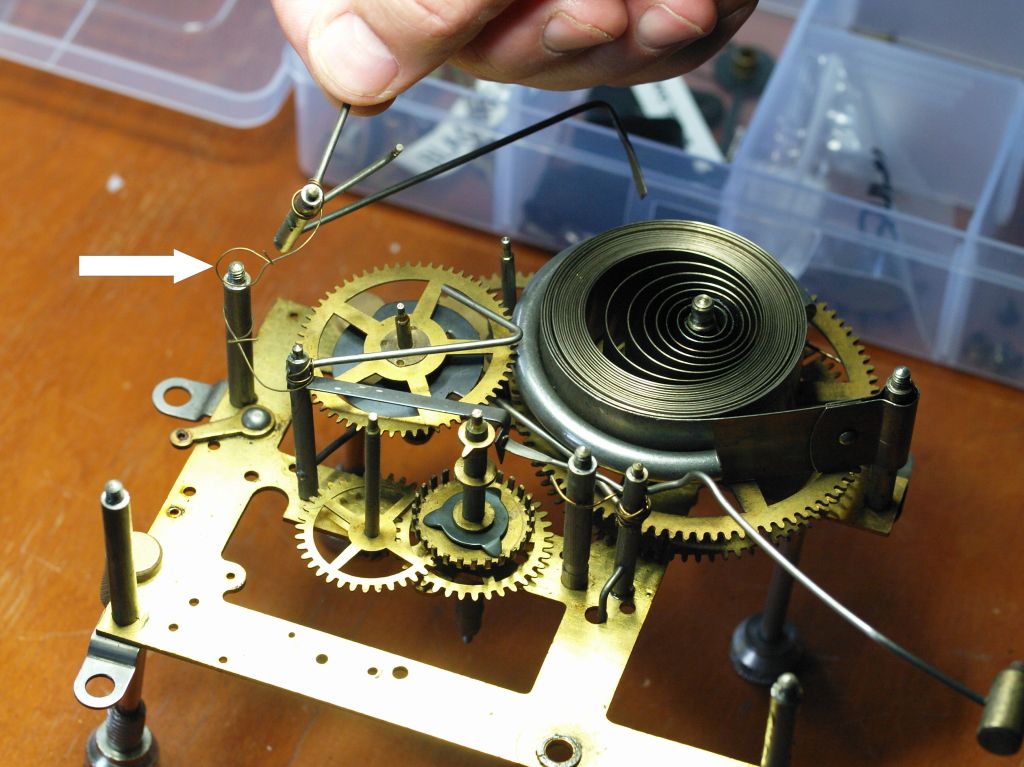
Orientation of the Count Wheel
The count wheel plays a critical role in regulating the striking sequence of a clock. Different movements may have count wheels that rotate in opposite directions, so it’s essential to remember or note the orientation of the count wheel when removing it. If you fail to mark or track which way it goes, you may end up installing it incorrectly, which can result in malfunctioning strikes. Always take care to note the direction of rotation when removing any component like this.
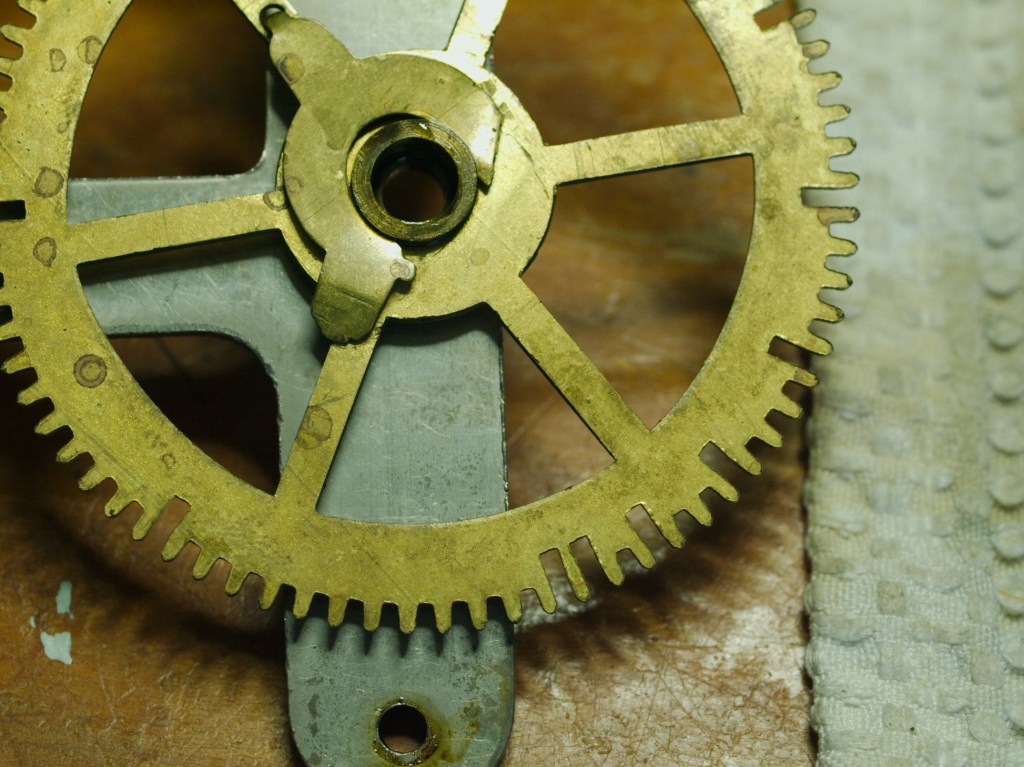
Helper Springs
Helper Springs may look like an add-on but are part of the original manufacturing process. Novices are tempted to leave them out when servicing a clock reasoning that they were added later during a repair.
Helper springs are vital for the correct functioning of certain levers and gears in a clock’s movement. If these springs are not properly attached, the levers may fail to operate as they should, and the springs can even interfere with other components, preventing them from working as intended. Make note of the orientation of the helper springs during disassembly and always check that all helper springs are in place and attached securely before reassembling the movement.
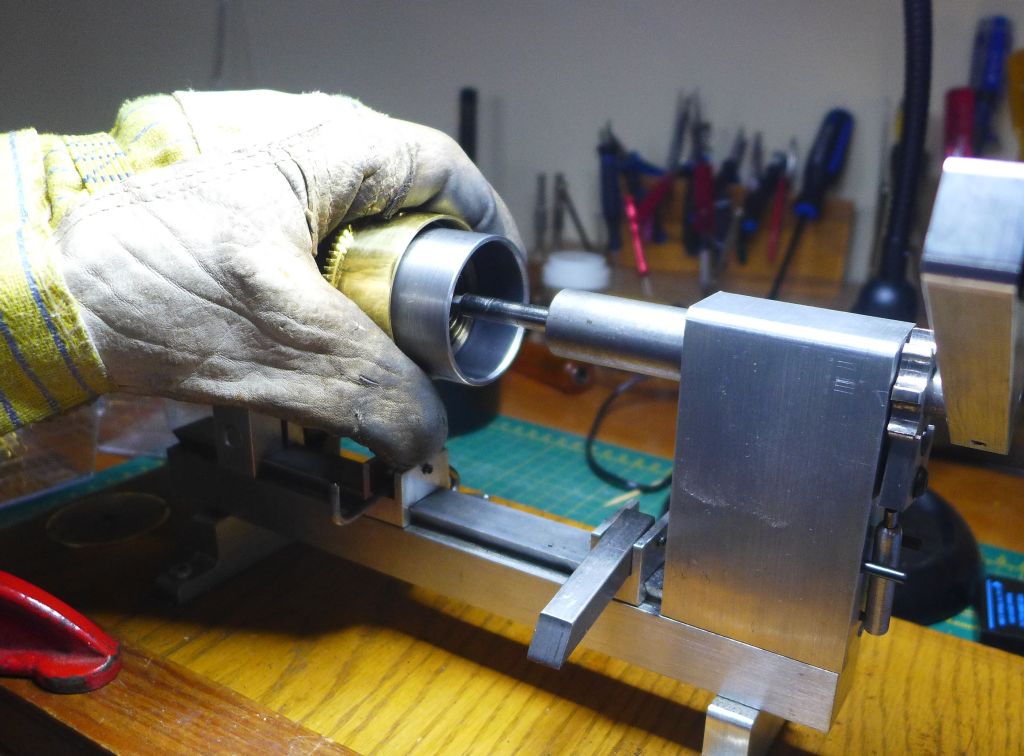
Take Special Care with Pivots
Patience is key when working on clock movements. If pivots are difficult to fit or the plates don’t seem to align correctly, it’s tempting to apply more force. However, applying too much pressure can bend or damage the pivots, which may be difficult to fix without professional tools or techniques. Instead of forcing components, carefully assess the situation, ensure everything is aligned, and use minimal force to avoid damaging the pivots.
An especially designed pivot locator can be your best friend.

Think twice before concluding a part is defective
It’s easy to jump to conclusions when diagnosing problems with a clock movement. You might assume that a part is defective or not functioning properly, but this is often not the case. Before replacing any parts, make sure you have thoroughly inspected the movement and confirmed that the part is indeed damaged or worn. Assumptions can lead to unnecessary replacements, costing both time and money. Always verify before proceeding.
Taking photos is a best practice
Taking pictures during disassembly is a common practice, but there’s a risk in doing this too early. If you take pictures before thoroughly understanding how the clock is put together, the images can become a source of confusion later on. You may forget specific orientations, parts, or connections, leading to problems when reassembling the movement. Instead, take the time to carefully observe and document each part’s position as you disassemble the clock. This will help ensure a smoother reassembly process.
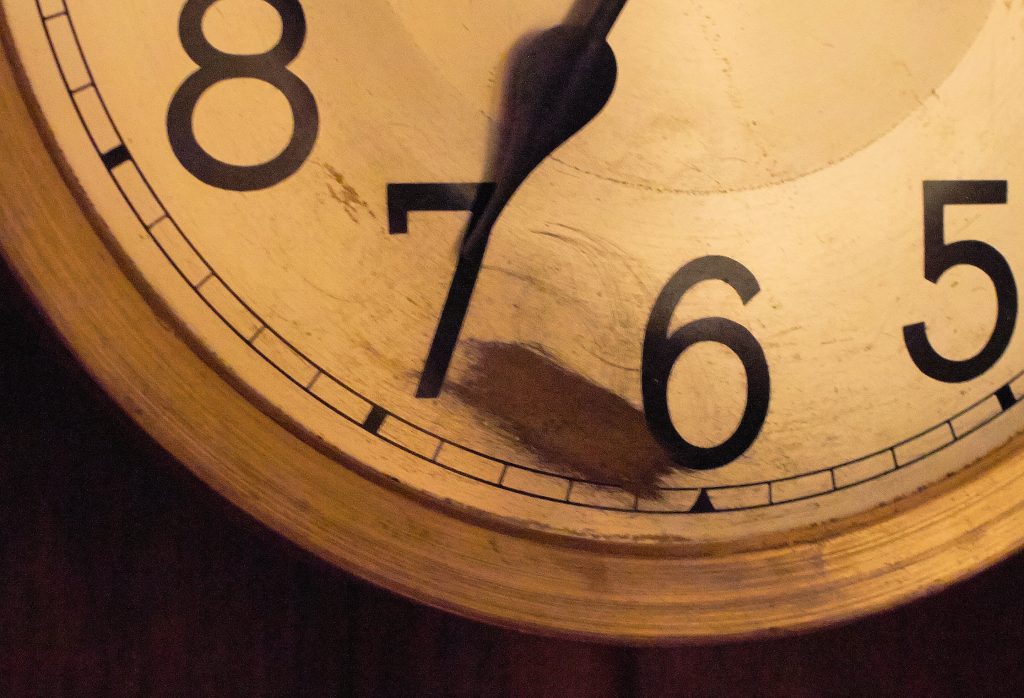
Stop and Think Before Cleaning a Dial
Many a dial has been ruined by a repairer’s eagerness to clean it. If the dial needs cleaning, consider using a gentle hand-cleaning method (soap, water and a soft cloth will do) to avoid any damage like the damage to a UM Muller clock dial below.
Dials, especially antique ones, are delicate and can easily be damaged by the high-frequency vibrations in an ultrasonic cleaner. The cleaner may strip paint, damage decals, or even warp the dial if it’s not carefully handled. Always remove the dial before placing any components in the ultrasonic cleaner.
Proceed in a Safe Manner
When disassembling a clock movement, always ensure the mainsprings are securely restrained before you separate the plates.
If the plates are removed without securing the mainsprings, they could unwind suddenly, potentially causing damage or injury. Use a mainspring winder, clamps, or similar tools to restrain the springs before beginning the disassembly process to avoid any accidents.
When using a spring winder, it’s important to wear thick leather gloves and eye protection to safeguard yourself from potential surprises if a spring fails. These precautions help minimize the risk of injury from sudden, high-pressure releases.
Resist the urge to bend things
During repairs, it’s easy to inadvertently bend parts while trying to make them fit or forcing them into place. Parts of the striking mechanism, especially on the striking levers, are particularly prone to bending. Once bent, they can be difficult to straighten and may not work correctly afterward. Always handle parts with care, and if something does not fit easily, take the time to inspect the alignment or find the correct adjustment method rather than forcing it into place.
Over-oiling is Never a Good Idea
As a person I knew once said; “if a little is good, a lot is better”. It’s tempting to apply generous amounts of oil when servicing a clock, but over-oiling can lead to a number of issues.
Excess oil can attract dust and dirt, which will gunk up the movement and cause it to run less smoothly. It can also seep into areas where it shouldn’t be, like on the dial or outside of the movement, leaving unsightly stains. Always use an approved clock oil sparingly, and only in the areas where it’s needed. A little goes a long way, and it’s better to apply no more oil than necessary rather than risk over-oiling the movement.
To Summarize
Clock repair requires not only skill but also a cautious approach to avoid common mistakes that can lead to damage or injury. By taking the necessary precautions—such as properly handling mainsprings, ensuring parts are correctly installed, and using minimal force—you can prevent costly errors and ensure a successful repair. Patience and attention to detail, will make all the difference in restoring a clock to its full functionality, allowing it to run smoothly for years to come.
Suggestions and tips for novices? Join the conversation.
Discover more from Antique and Vintage Mechanical Clocks
Subscribe to get the latest posts sent to your email.

Good morning Ron and thanks again for another great morning read. Sadly I have broken a few pivots during the process of polishing them, usually the result of improper clamping them in a jewellers lathe chuck. On the other hand I’m batting 1000 on repairing them using the pointy end of a push pin used in the fur industry (they’re harder than a map push pin), by drilling the end of the arbor (using a lathe) then insert the new pivot.
LikeLike
Good morning to you as well. I’ve also broken a few during reassembly due to rough handling but have successfully managed to repair them. While it does slow progress, there are few alternatives other than abandoning the repair altogether.
LikeLike