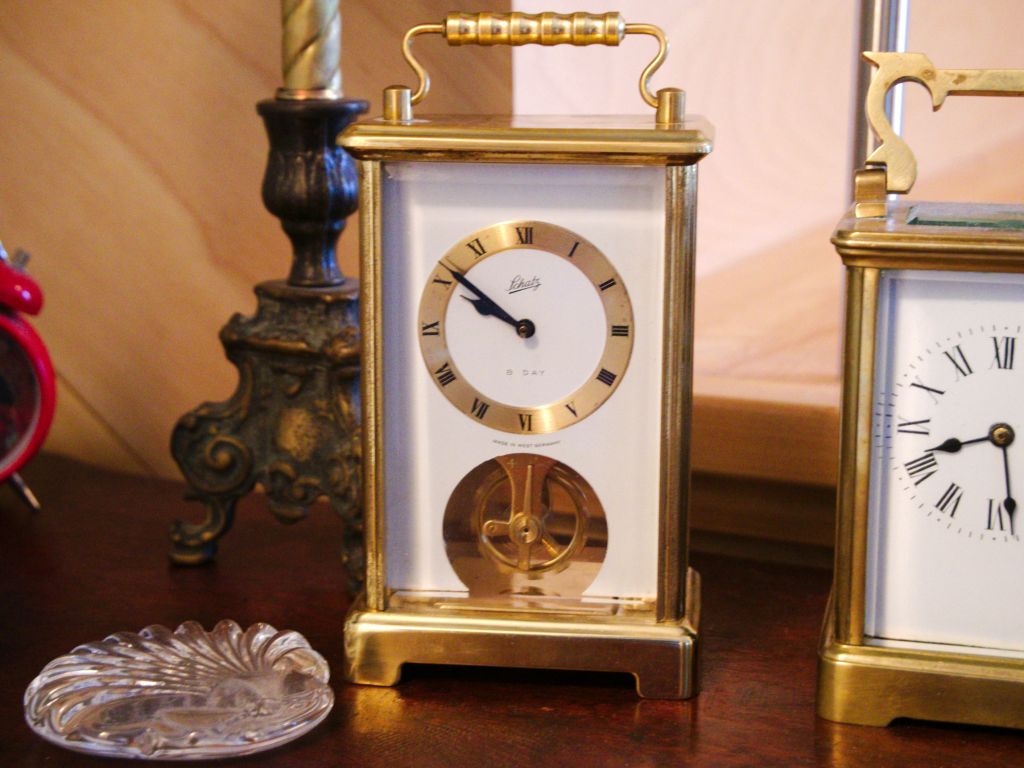
Schatz and Sohne, the maker of this attractive 8-day carriage clock may not have considered the fact one day their carriage clocks would require servicing. Did they make a throw-away clock? We’ll see.
Many were sold and gifted to family, friends, and business associates. Over the years they have either been tossed out, found their way to antique shops/flea markets, or sat on a shelf never to run again. They are pretty, however!
Were they meant to be repaired and are they fixable? Perhaps.
Just about any clock can be fixed. However, the cost of a professional service would be far more than it is worth but may be justified for sentimental reasons. In the case of this clock a professional service would be out of the question.
I paid $40 for this clock. The seller said that it runs for 4 days and stops. He was quite correct. I wound it fully each time and over the course of a few weeks, it promptly stopped at about the 4-day point. I appreciate the seller’s honesty.
The loss of power that is consistent in this clock’s cycle tells me that there is serious wear at some point in the train. Some might immediately assume that the mainspring is weak but in my experience mainsprings are generally much more powerful than required.
So, let’s see what we have.

Disassembly
A rubber band or two comes in quite handy when employed to hold the four glass sections in place while taking the clock apart. Next, unscrew the key and pull out the small knob used to change the time. Four screws hold the base to the glass sides and top of the clock.
Carriage clocks such as this example are more decorative than functional but are they worth fixing?
The first step in removal is to pull out the works from the base, then, pull off the hour and minute hands which are both friction fit. Next, the dial face and front section are removed by means of two screws that hold it in place. The base is removed from the movement, again, two screws hold it in place.

Once the movement is removed it becomes apparent that three plates are required for the gear train. The design is not far removed from a conventional time-only clock except for the upside-down configuration with an inverted escapement. The third plate is effectively used as mounting points for the dial, the mainspring barrel, and the escape wheel arbour.

Six screws hold the plates together. Once the rear plate is removed, the wheels are revealed.
The wheels are very small and the pivots are tiny and easily bent. Though I was careful, I can imagine anyone using brute force to bring the plates together upon re-assembly could easily risk bending or breaking a pivot. Therefore, extra caution is highly recommended.
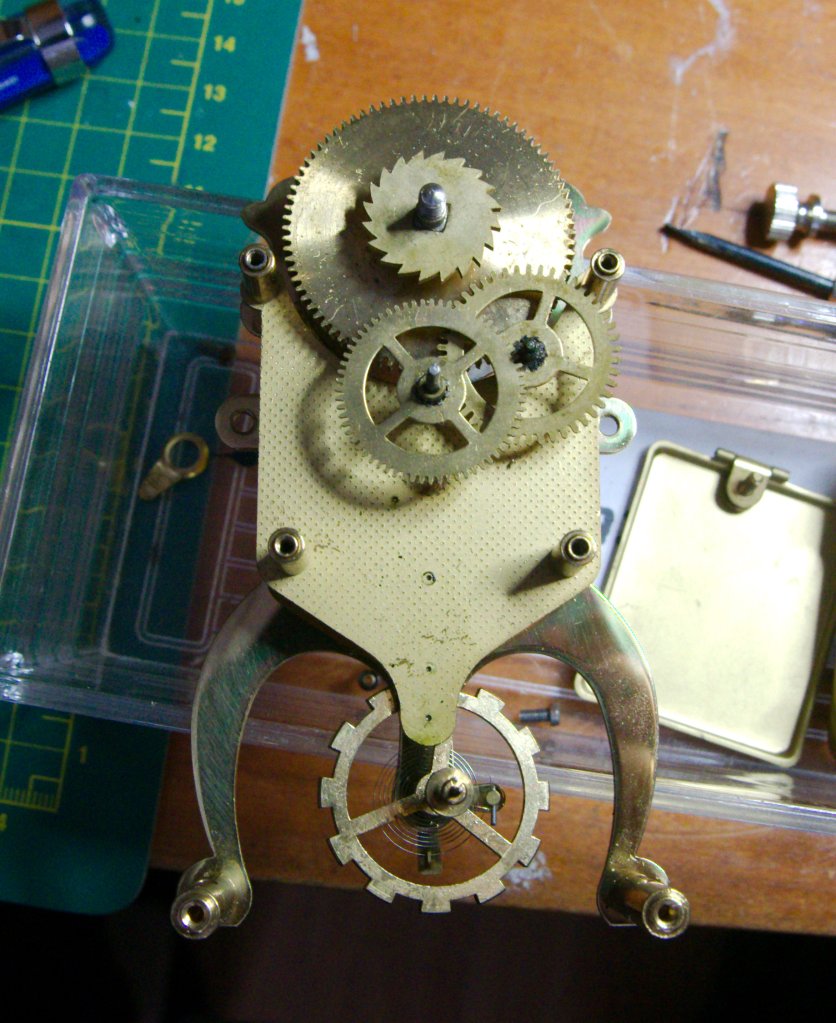
As for wear, everything looked very good except for the second wheel bushing hole which was badly worn, not surprising since the second wheel accepts the full force of the main wheel. Thin brass plates also exacerbate wear.
I believe I “might” have found the cause of the power issue. The bushing hole shown below is elongated enough to cause problems transmitting power up the train.

That one was the worst by a large margin. All the other pivot holes had acceptable wear and did not require new bushings.
All parts were cleaned in the ultrasonic, the pivots were polished and pivot holes pegged out.
Now for bushing work
I have installed hundreds of bushings on clocks and this one was a real challenge. The pivot on the second wheel is 1.27 mm. The Bergeon bushing I chose has a 2mm diameter. Anything larger would have required removing too much brass making the new bushing potentially loose and unstable. As it stands there is a slight bulging of the brass plate where the bushing is installed.
Because the inside diameter of the bushing was .95mm a considerable amount of broaching out was required to enable it to fit the 1.27mm pivot. The result is a thin sidewall but sufficient to do the job. Using a pivot cutter I reduced the height of the bushing for a nice clean fit.
Just one bushing but a tough one.

Reassembly
Reassembly went without issue though I had to refer to the photos I took during disassembly to determine when all those darned washers had to go. Photographing each step in the process always pays dividends in the long run.

A pivot locator comes in very handy when putting it all together. Using the locator, the pivots are gently convinced to find their respective holes.
Once the escape wheel hairspring peg is pushed back into its post it is time to give the escape wheel a little spin and test the movement prior to returning it to its case.
And the final results
After disassembly, cleaning, addressing a serious wear issue, and testing, the final result is…….yep, it runs 4 days and stops.
I may remove the mainspring from its barrel (not something I did this time) and give it a good cleaning but I think that is it.
Will I go further and perhaps replace a weak mainspring? No! I am not going to put more money into a clock which, at the end of the day, is nothing more than a decoration. It is just not worth it.
Pretty to look at though!
Discover more from Antique and Vintage Mechanical Clocks
Subscribe to get the latest posts sent to your email.

I was sad to hear yes it still runs 4 days and stops. Hubby had looked at one for a friend but it’s too delicate for his hands to take apart. He liked it snd I know he’d pick up one if found at tag sale.
LikeLike
I would not pay money to have one fixed.
LikeLiked by 1 person
I took a second look at it and it runs better now.
LikeLiked by 1 person