Over the past seven years, I’ve installed a number of bushings in clock movements, but I had never attempted to bush a clock spring barrel until now. While some clockmakers regularly bush barrels, this is the first time I’ve encountered a barrel mainspring in such poor condition. Despite being my first attempt at bushing a barrel, the process was largely successful.
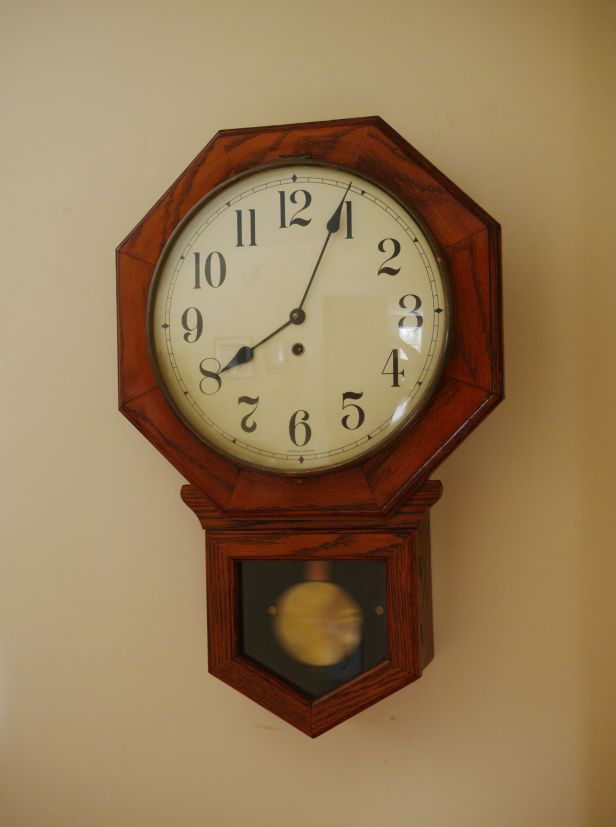
Two years ago, I purchased a Jauch schoolhouse clock at auction for $50. It features a straightforward, time-only movement, making it an excellent choice for anyone new to clock repair.

German clock movements from the 1970s were not always built to the highest standards, often plagued by two key issues: plated pivots and soft brass. Softer steel pivots were used to prolong the life of cutting machines, with plating added to provide sufficient hardness. Unfortunately, this plating wears away over time, leaving the pivot significantly worn.
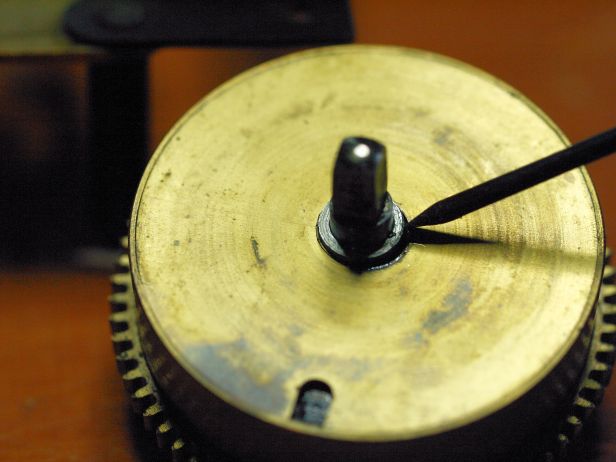
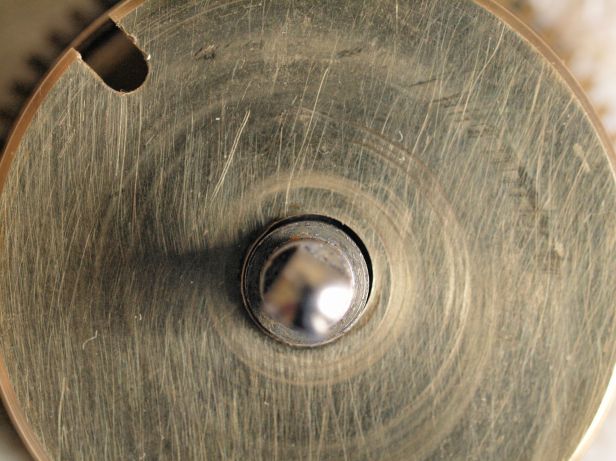
This particular movement does not have plated pivots. However, the second issue—soft brass—is evident. In this case, the steel arbor has caused significant wear to the brass cap and barrel.
During a previous servicing, I installed three bushings but did not address the mainspring barrel.
Since I purchased the clock, it has consistently run 10 minutes fast at the start of the 8-day cycle and 10 minutes slow by the end. There’s likely some underlying physics related to barrel slop that affects this erratic behavior, though the exact cause eludes me. Clearly, something unusual is at play. Will bushing the barrel and its cap improve the running characteristics of this movement? Time will tell.
A Challenging Repair
For the barrel repair, I chose a #60 Bergeon bushing to fit the reamed-out hole, as it was the largest size available in my bushing supply.
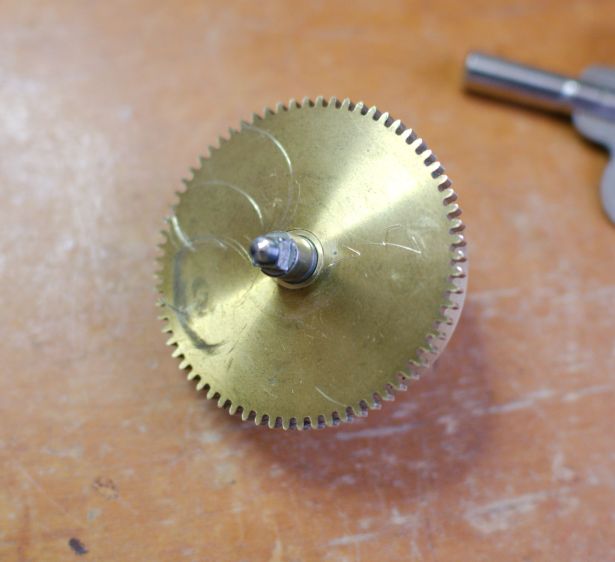
To remove the barrel arbor from the barrel, I first had to take off the ratchet gear. Lacking a gear puller, I placed the barrel in a vice, positioned two pieces of wood on either side beneath the ratchet, and gave the arbour a light tap with the nylon end of a brass hammer. The ratchet came off easily.
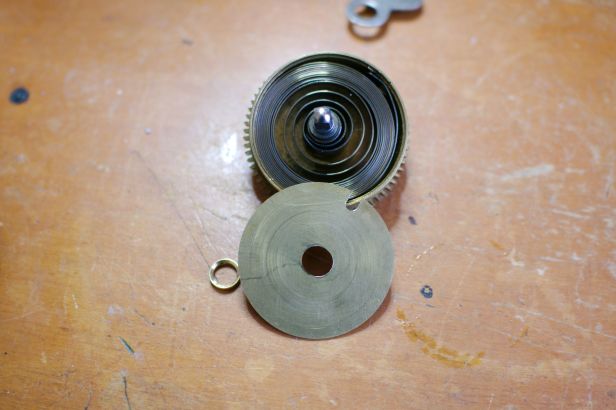
After popping off the barrel cap, I used my spring winder to remove the mainspring, allowing access to the barrel. I then restrained the spring with a collar. So far, everything was going smoothly.
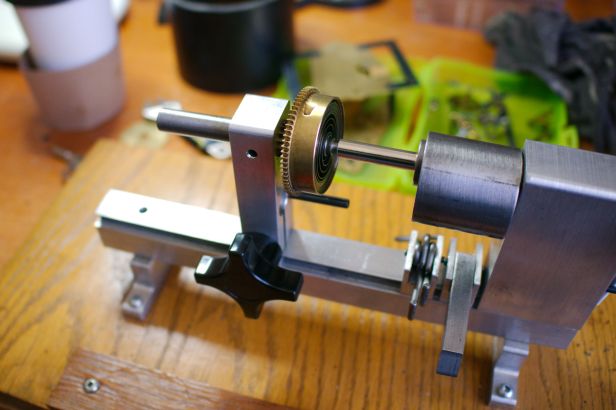
I positioned the barrel in my Bergeon bushing machine and used the centering bit to establish the center. Using an 8.47mm cutter, I created a hole and installed the bushing. To secure it, I peened the bushing in place, forming a lip on both ends to ensure it stayed firmly seated. With the barrel complete, I moved on to the cap.
This is where things didn’t go quite as smoothly. I centered the cap as accurately as possible on my bushing machine, drilled through it, and installed a bushing of the same size. However, the arbour’s diameter on the cap side was larger than on the barrel side, so I used another reamer to enlarge the inside of the bushing. As I worked, I noticed the bushing wall was becoming quite thin. To preserve a sufficiently thick wall, I decided to reduce the diameter of the arbour. Using my metal lathe and a cutter, I trimmed the arbour to achieve a proper fit. Once satisfied, I peened the bushing in place.

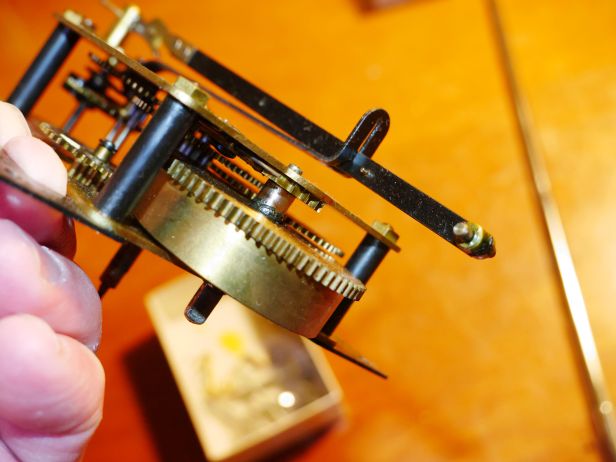
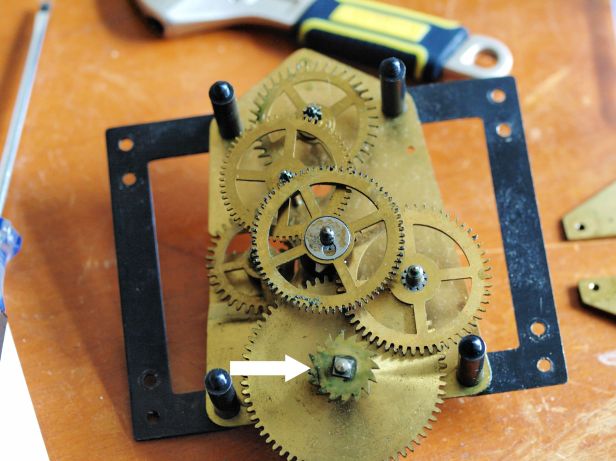
When I reinstalled the barrel into the movement, I noticed that the cap could have been better centered. There is a slight tilt, which became apparent once the barrel was in place. I wondered whether the gear would properly mesh with the second wheel pinion as the barrel rotates or if it might rub against the second wheel. After a few days of observation, it seemed to function without issue.
Looking back, I realize it would have been better to bush the barrel side first, test it, and then move on to the cap side. It’s all part of the learning process!
Next time, taking extra care to pinpoint the exact center will undoubtedly lead to a better result. Given that this is a budget clock and not my finest work, I see it as a valuable experience.
Discover more from Antique and Vintage Mechanical Clocks
Subscribe to get the latest posts sent to your email.

You must be logged in to post a comment.