As I continue to build my Pequegnat clock collection, I always seize a good deal when I find one, and the Jewel was too good to pass up. You might be wondering, what exactly is a Pequegnat clock and where does the Jewel fit into their model lineup?
A Pequegnat clock refers to clocks produced by the Arthur Pequegnat Clock Company, a renowned Canadian manufacturer active from 1904 to 1941 in Kitchener, Ontario, Canada. These clocks are celebrated for their quality craftsmanship and distinct place in Canadian horological history. Pequegnat clocks were a common feature in many Canadian homes.
I now have twelve Pequegnat clocks in my collection, consisting of several mantel clocks and three wall clocks.
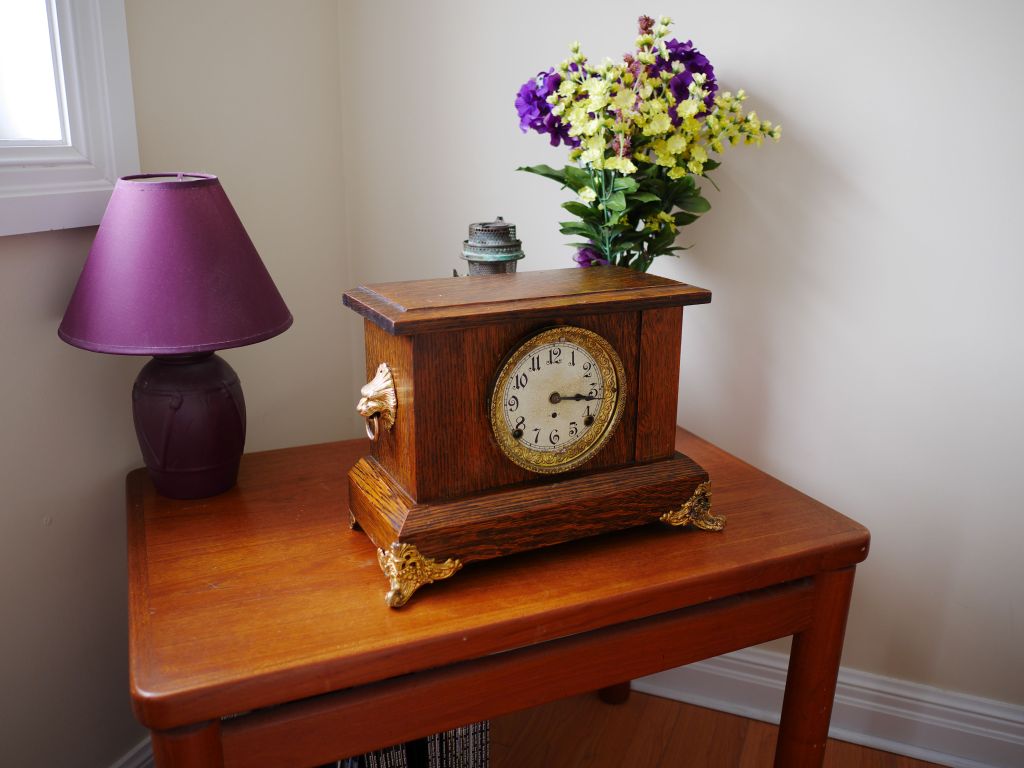
In 2018, I purchased a Pequegnat Simcoe clock from a shop in Victoria, British Columbia, for nearly $200—a price I found fair at the time. More recently, I came across the Jewel model in an antique shop just 20 minutes from home. Though it was perched on a high shelf, I recognized it instantly. Given its significantly lower price, I couldn’t resist adding it to my collection.
The case dimensions of both are exactly the same and each has the earlier Berlin-style piecrust dial.
Three features differentiate the Jewel from the Simcoe. First, the Jewel was a less expensive clock. It is likely one of the least expensive mantel clocks in the Pequegnat mantel clock lineup, offering a more affordable option for many Canadian families.
Secondly, the Jewel lacks the lion’s head side handles and decorative feet found on the Simcoe.
Third, although the movement is identical to the Simcoe, the Jewel has a smaller gong block. A smaller gong block would still produce sound, but with a less resonant tone, which was considered an acceptable tradeoff for keeping production costs lower.
Condition of the dial
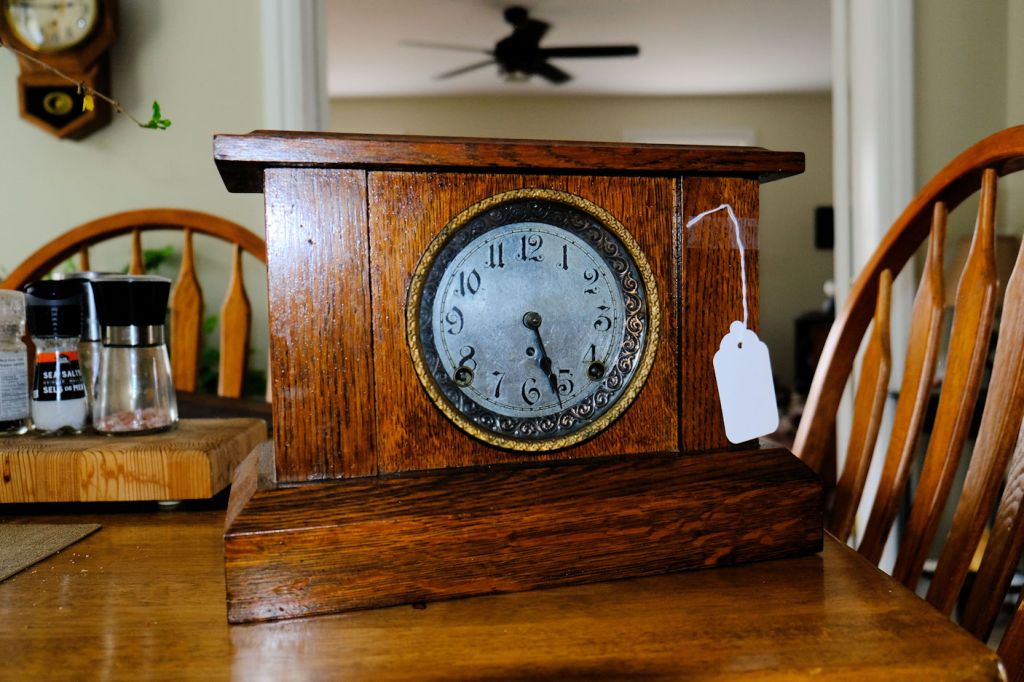
Unfortunately, the dial on the Jewel has been completely stripped of its paint. I’m willing to accept a dial with some imperfections—after all, the paint on the Simcoe’s dial is flaking, but that’s part of its aging process and what gives it its antique character.

However, a dial completely stripped of its paint, aside from the chapter ring and numerals, is unsightly and distracting. I completely understand why this was done. More expensive Pequegnat clocks featured enamel dials, while the more common models had painted dials, which are prone to flaking after many years and this clock must have had extensive paint loss.
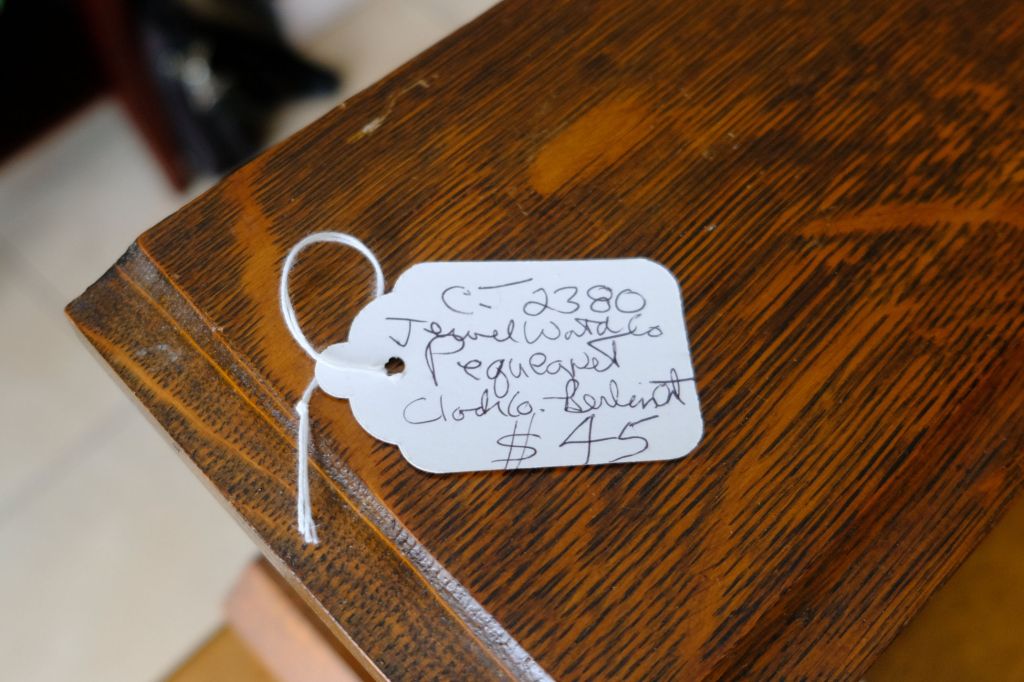
While some might have left the dial as it was, viewing it as part of the clock’s history, the extent of the modification made it impossible for me to leave it as is. The fact that the clock only cost me $45 also made me more willing to take the risk to remediate the dial.
Repainting a dial is usually a last resort for me, and I wouldn’t recommend it unless you have steady hands, plenty of patience, the necessary materials, or the option to outsource the work to an artist friend or an expert. Outsourcing might be a good choice, particularly for dials with sentimental value, as it ensures the work is handled with precision and care by an expert. Preserving the integrity and charm of a cherished clock often warrants entrusting the work to skilled hands such as The Dial House.
Some time ago, I restored the dial on a Seth Thomas clock using a technique called inpainting, and I was very pleased with the results. I also touched up the dial to a Pequegnat Canuck shelf clock with very satisfactory results.

A decision was made
As I considered my options, I decided that if the inpainting did not turn out as planned, I could always order a paper dial from an eBay supplier and place it over the original.

However, the cost of the dial alone would exceed what I paid for the clock. Besides, I’m not particularly fond of paper dials.
I know that once I’m done with the dial, my artistic “talent” will be apparent upon close inspection. However, I’m confident it will be an improvement over its current state.
To carry out this procedure, the hands, dial/bezel must be removed. There are just two screws at 3 and 9 o’clock that hold the dial assembly in place. Once the assembly is removed, the glass and its bezel can be separated from the dial and set aside.
Once the dial was removed, I cleaned the stripped surface with isopropyl alcohol. It evaporates quickly and leaves no residue, and since the dial had no remaining paint aside from the chapter ring and numerals, I wasn’t concerned about damaging the finish and simply worked around the painted areas.

The dial was likely originally white but had aged to a darker cream color over time. To recreate this, I mixed a touch of canary yellow with cotton ball white to achieve the perfect shade. I used both a broad artist’s brush and a fine-point detail brush to apply the first coat. Multiple coats are necessary, but the first coat needs to be cured before adding another.
I’m using water-based acrylic paint, which is self-sealing and becomes permanent when baked at low heat however, this dial will not be spending time in an oven. Once another coat or two is applied I can use a pointed tip detail brush to reshape the numerals using black paint.

The first coat is acceptable, though a bit blotchy due to the uneven spread of paint across the dial. The tin was very visible, so I knew that more than one coat would be necessary.
I mixed the yellow and white paint the same way for the second coat, this time adding a touch of chocolate brown.

However, the bare metal is still visible, indicating that at least one or possibly two more coats will be needed. I’m considering going a shade darker for the next layer by adding a touch more brown, but I’ll take some time to think it over before deciding. I’m starting to notice a lovely transformation in the dial, shifting from its stark tin appearance to a more pleasing shade of cream.
That wraps up Part I of this two-part series. In Part II, coming in the new year, I’ll continue the restoration process by applying additional coats to the dials and refining the numerals and chapter ring. Stay tuned!
Discover more from Antique and Vintage Mechanical Clocks
Subscribe to get the latest posts sent to your email.

One thought on “Pequegnat Jewel Dial Restoration | A Case For Inpainting | Part I”