Let’s clear something up right away: I am not a “Dunkin Swish” enthusiast. If you’ve been researching the clock-collecting world for a while, you might have come across this term. If you haven’t, consider yourself lucky—it’s something best avoided at all costs.
“Dunkin Swish” (apologies to those named Duncan) refers to the practice of placing an assembled movement into a cleaning solution or an ultrasonic cleaning machine, drying it off, and then declaring it “clean.” This is the absolute worst method for cleaning a clock movement and is never a good way to clean mainsprings within their spring barrels.
Why? Only by disassembling the movement can you properly inspect parts, polish pivots, peg holes, and thoroughly remove the dirt and grime that accumulate in the small crevices of a movement—buildup that will accelerate wear over time.
There is only one method to properly clean a clock movement, and complete disassembly, which includes removing mainsprings from their barrels/arbours.
Here are the steps I always follow when cleaning clock parts.

In most cases, clock parts can be safely cleaned using an ultrasonic cleaning machine. However, in rare instances, when working with something very old and delicate, hand cleaning may be the only viable option.
For the purposes of this article, I will assume that most clocks you work on are standard common-place brass mechanical movement types found worldwide.
Let’s get started.
Pre-cleaning
Once I have the movement disassembled, I clean any stubborn stains and wipe off excess oil from the parts beforehand. From experience, I’ve learned that while an ultrasonic cleaner works remarkably well, it’s not a magic solution—tough stains don’t always come off easily in the cleaner.
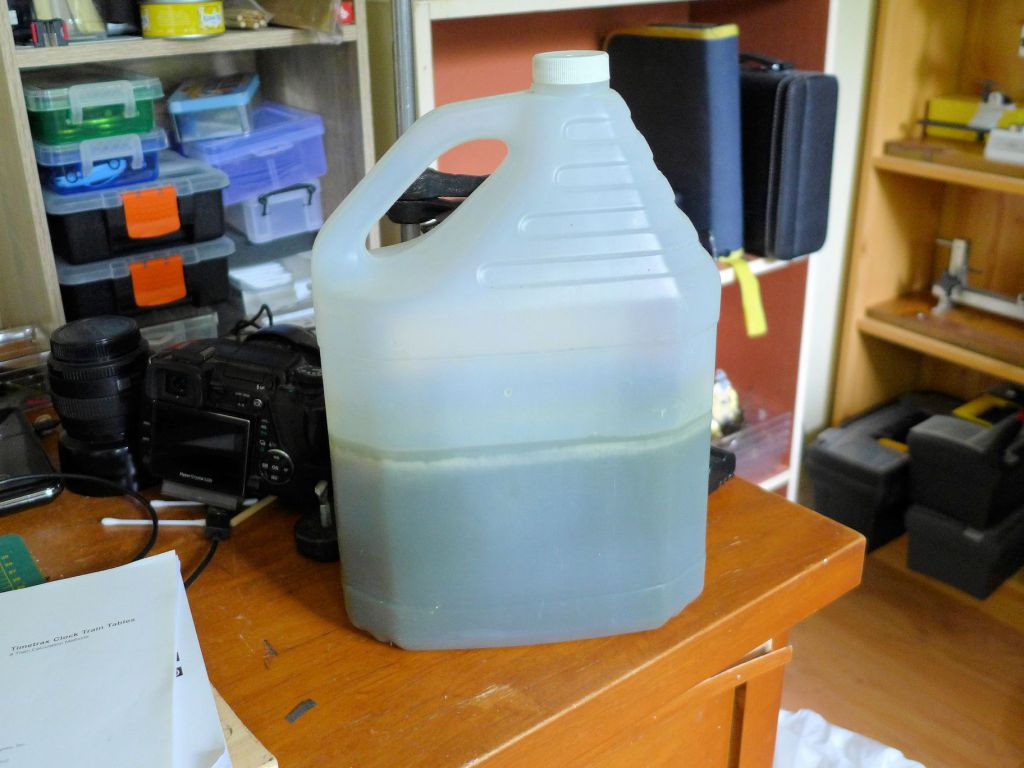
Pre-cleaning has an additional benefit: it extends the life of the cleaning solution. The solution can be reused multiple times, but once it becomes too dirty or cloudy to see through, I dispose of it. Proper disposal can be a challenge, which is why I always opt for a non-ammoniated, biodegradable solution.
I also clean all the pivot holes with peg wood or toothpicks and remove oil from the pivots beforehand. Additionally, I wipe away excess oil and dirt from the mainsprings.
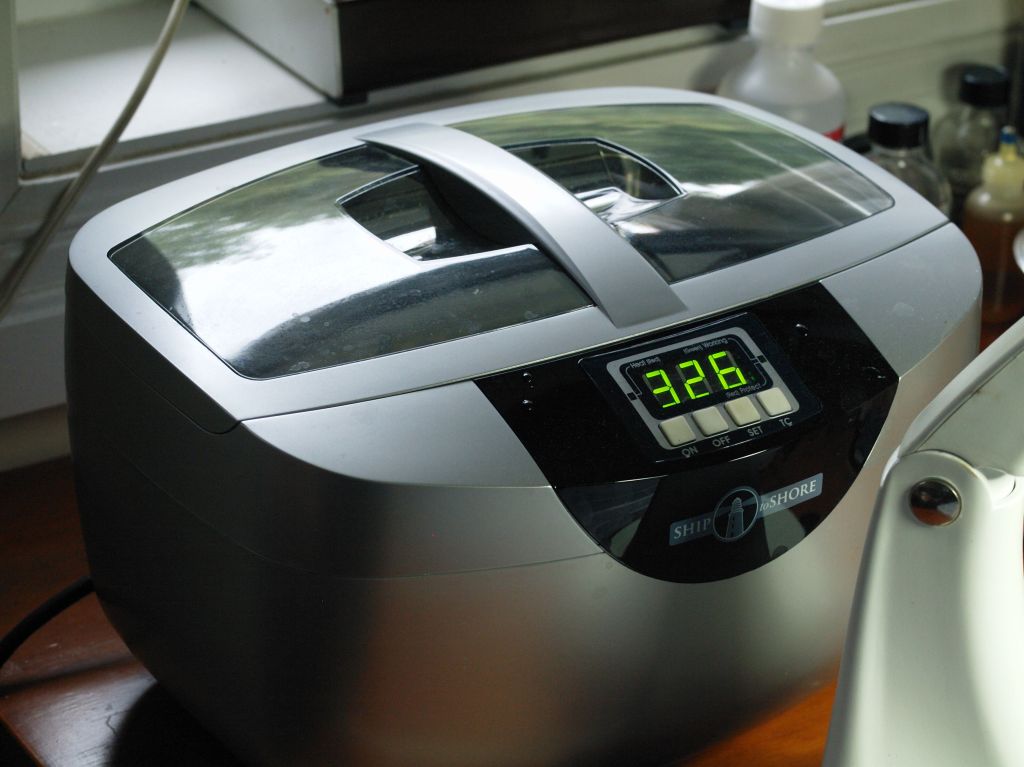
The ultrasonic cleaner
In the early days of my clock repair work, I used an inexpensive ultrasonic cleaning machine. It was adequate for small jewelry items and acceptable for clock parts, but as I could afford something better, I decided to invest in a commercial-grade product.
I came across many Chinese-made ultrasonic cleaners on Amazon and eBay. While some may have had positive experiences with these machines, and the prices are certainly appealing, I was looking for something of higher quality and with a solid warranty. I have no issue with Chinese ultrasonic machines, but I would only consider them if they offered a reliable return policy and warranty.
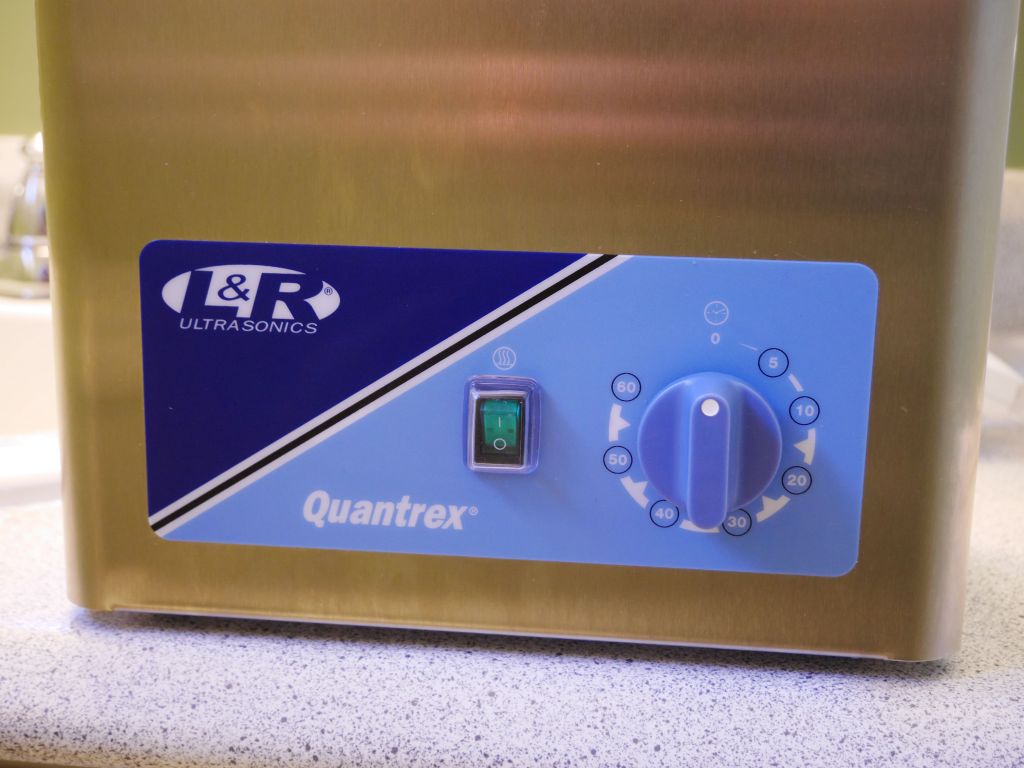
I chose L&R for two main reasons: their reputation and warranty. I get no credit for mentioning this company, but the link will allow you to explore their product line to find the right size for your needs. After four years of continuous use, my L&R cleaning machine has performed flawlessly. L&R meets all of my requirements.

The Q140 with heater is the size I opted for. It will hold one complete movement but is a tight fit for larger movements. Its smaller size means less cleaning solution is used and quicker heat-up times.
A high-quality ultrasonic cleaner will not disappoint. While there may be other brands that are equally good or even better, you generally get what you pay for.
Using an Ultrasonic Cleaner
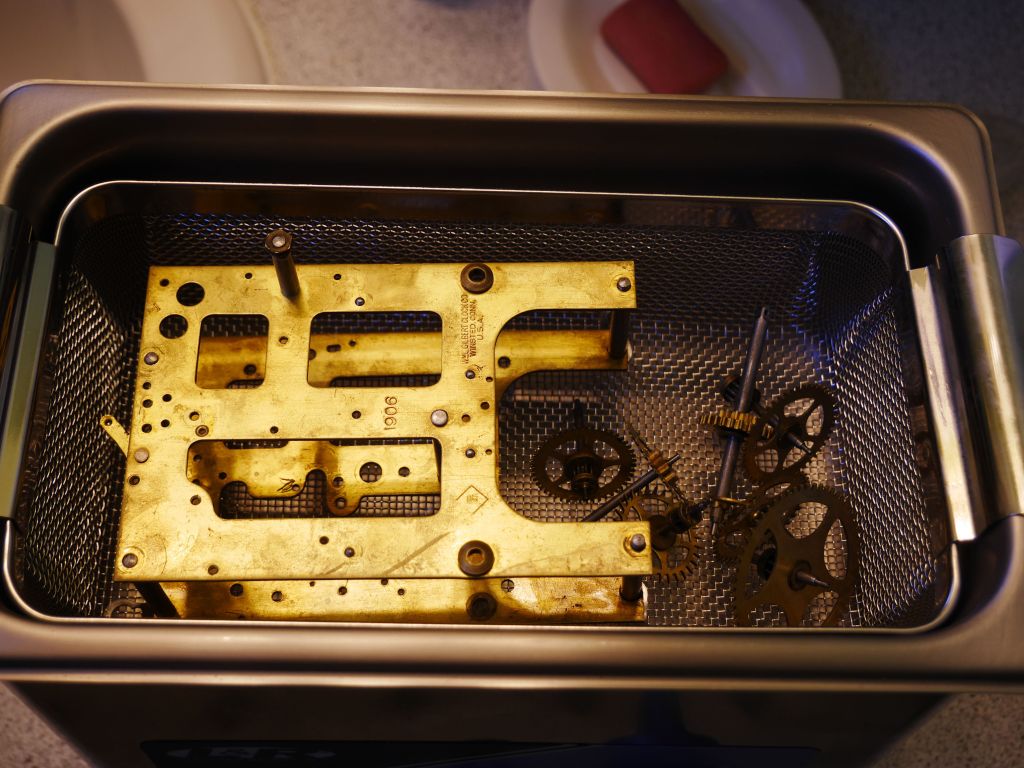
Ultrasonic cleaners use cavitation, generated by ultrasonic waves, to clean objects made of non-absorbent materials. Ultrasonic cleaning effectively removes dirt, grease, and other contaminants from delicate components without causing damage. Just look at how bright and shiny this 30-hour movement looks after ultrasonic cleaning. That said, achieving an absolutely shiny movement is not the goal.

Should everything go into the ultrasonic cleaner? Avoid mixing metals beyond brass and steel in the cleaner as they may react with each other. I also avoid placing anything plastic in it. Some modern clock movements with plastic or nylon gears and parts should be cleaned separately and not placed in the ultrasonic cleaner. Hammer heads made of leather should not be placed in an ultrasonic.
Use your own judgment with friction-fit parts, such as a center gear and pinion, as there is a risk of damaging them if you’re not confident they can be reassembled easily. Otherwise, disassemble as much of the movement as possible.
Choose the Right Cleaning Solution
Avoid using flammable substances such as alcohol, gasoline, or other volatile liquids. These can vaporize, potentially causing a fire or explosion, and release harmful gases into the workspace. Inhaling these toxic fumes is never safe.
Only solutions that are specifically designed for an ultrasonic cleaner should be used. Among acceptable cleaners is Polychem Deox 007 as a cleaning solution that works effectively. The mix is 5 to 1 ratio with water and it is free of odour. According to their product brochure Deox-007 is “an environmentally friendly, non-ammoniated concentrate cleaner. It is mildly alkaline for the efficient removal of oils, grease, tarnish, stains, corrosion, and oxidation from brass, bronze, copper, gold, and silver”. Once it has outlived its usefulness it can be safely dumped down the drain.
Many cleaners have a safe fill line, typically about 1 inch from the top of the tank. Whether you’re cleaning one part or several, always ensure the solution reaches this fill line.
A stainless steel wire basket is also necessary as it is not advisable to place parts directly on the bottom of the cleaning tank. A stainless steel wire basket is necessary because placing parts directly on the bottom of the cleaning tank can cause them to become damaged. The basket keeps the parts elevated, allowing the ultrasonic waves to clean them evenly without contact with the tank surface.
Although I always drain the solution after each use, I understand for the sake of convenience why some repairers leave it in the tank if the ultrasonic cleaner is used daily.
No cleaning method I’m aware of is as effective at cleaning lantern pinions as an ultrasonic cleaner. The results are truly remarkable.
The Ultrasonic Session
I pre-heat the solution which involves pouring in the solution, turning on the heater, and allowing the ultrasonic to come up to temperature. It takes about 10 minutes.
I typically run the ultrasonic for 20-30 minutes, which is usually sufficient for most jobs. On rare occasions, I’ve run parts through a second time.
Next is drying all the parts and this is where speed is essential. It is surprising how quickly rust forms on the steel parts. I use shop towels and for difficult locations such as lantern pinions, I use a hair dryer. Occasionally, if my wife is baking I will put the parts in the oven during its cool-down phase.
Years ago, some repairers salvaged parts from discarded hot-air popcorn machines, but I don’t see those around anymore. Additionally, in the past, some repairers designed heat boxes using a light bulb, but today’s LED bulbs run far too cool.

If you choose to place mainsprings in the ultrasonic cleaner, it’s important to dry them as quickly as possible.
There are two reasons why you might prefer to clean them by hand. First, they can be easily cleaned on a spring winder, and second, the solution will become dirty very quickly, shortening its lifespan.
One could clean in phases—first the time side, then the strike side—if drying is a concern. Ultimately, it’s up to personal preference.
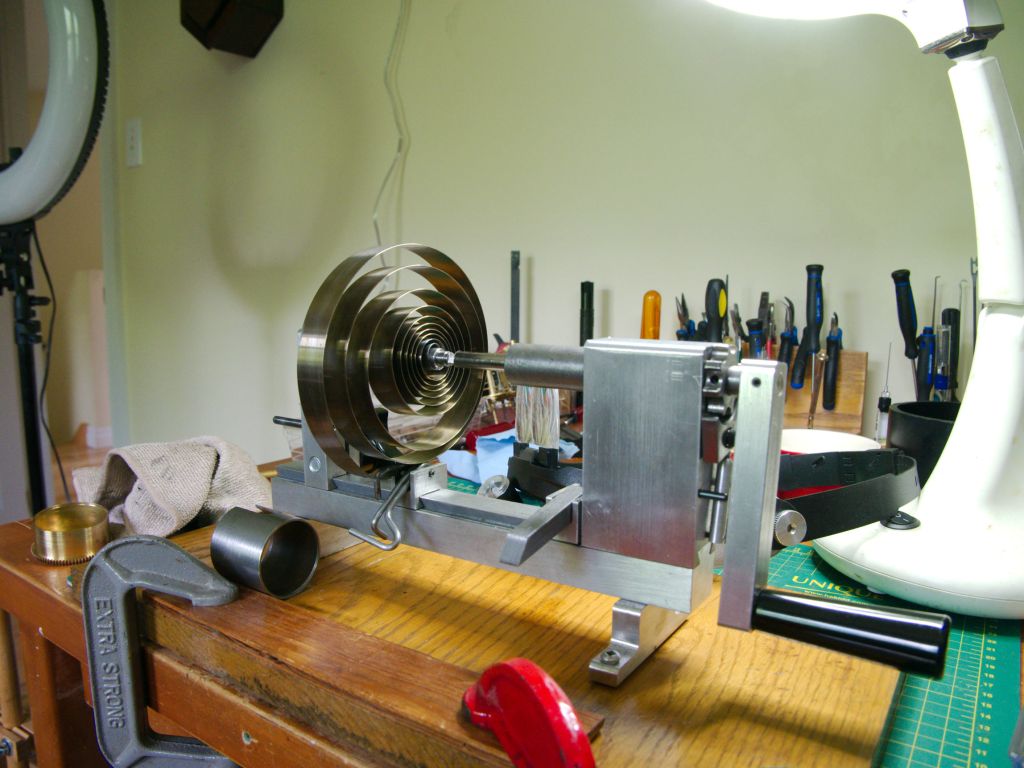
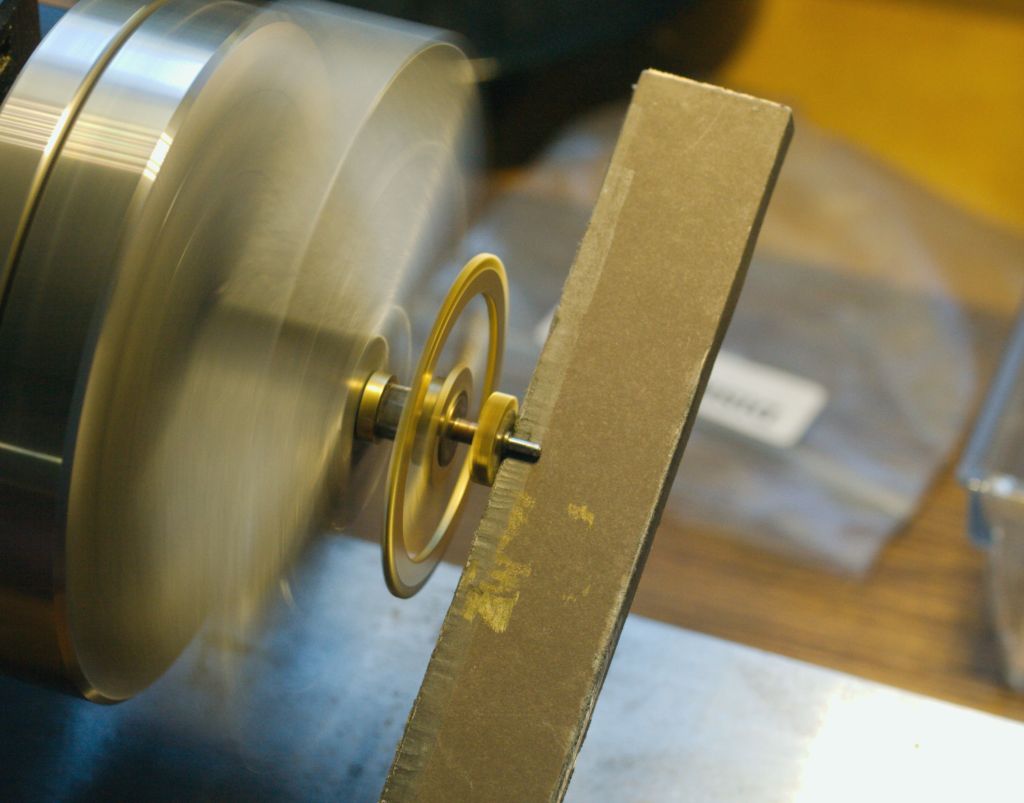
Using a small metal lathe to buff the Wheels
To buff the wheels using a small metal lathe, securely mount the wheel on the lathe’s spindle and gently apply an emery board to the wheel. Run the lathe at a low speed, applying light pressure to achieve a smooth, shiny finish.
Next, clean the pivots with an emery board. To clean the pivots with an emery board, lightly hold the board against the pivot while moving the emery board up and down at a low speed. Use gentle, consistent pressure to remove any grime or oxidation without altering the pivot’s shape or surface. Use a soft cloth to wipe off any excess residue from the pivots.
Next Steps
Once everything is dry, the next phase involves any necessary bushing or pivot work, followed by reassembly and testing.
So, that’s the method I follow. If you have a different technique or additional steps that you include in your process, I’d love to hear about them.
Discover more from Antique and Vintage Mechanical Clocks
Subscribe to get the latest posts sent to your email.

Dear Mr. Joiner, I read you columns on clock repair with interest. The latest one on clock cleaning was of particular interest. For drying the parts after cleaning (I too use an L&R ultrasound), I built myself a dryer. It’s a cube, roughly 18 x 18 x18 inches a side. In the bottom are cut a few slots to permit egress of air. I bought a bonnet hair dryer (see Amazon) took off the bonnet and cut a hole the top of the cube the same diameter as the diameter of the tube that leads from the heating unit. I made some legs. for the box. I have a fine mesh grill on which to place the parts while in the box. It works quite well. I’ll send photos next week. Regards, Mike.
Sent from my iPhone
>
LikeLike
Yes, it pays to buy a quality US. I am anxious to see your design. I have often thought of a drying box and an inexpensive hair dryer would certainly work. The mesh sounds interesting. Again, looking forward to the photos.
LikeLike
Thanks for sharing your knowledge and experience. As I novice follower, it’s an easy read instead of searching various clock forums.
LikeLiked by 1 person
Thank you.
LikeLike
Ron, Another great article you shared your knowledge. Funny thing. Hot Air Popcorn machines where also used by some home based coffee bean roasters. Of course, it produced a very small batch and control was “by gee-by golly”. Suppose too, some folks actually used them for popcorn. Another clock repairer also suggested a hair dryer in a wooden box for a drier.
LikeLike
Thanks Marty. Yes I have heard of the hair dryer box idea. Wouldn’t take much, hair dryers are cheap enough on Amazon.
LikeLike