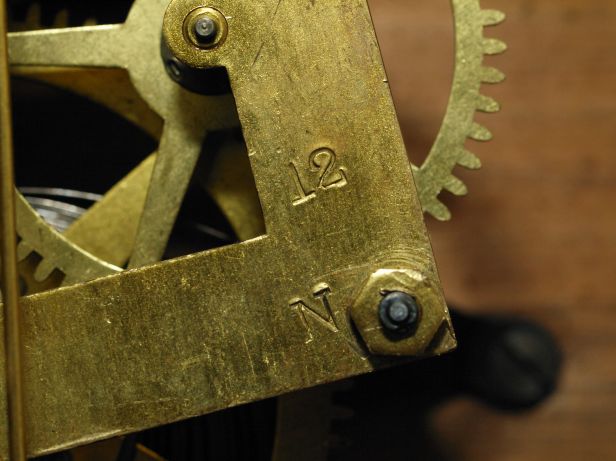
The Ansonia octagonal short drop wall clock was (is) commonly known as a schoolhouse clock. This clock was manufactured in 1912. The number “12” , the year stamp, is found on the lower front plate of the movement. The letter “N” is also stamped on the movement.
In this post, Part II, I will proceed with cleaning the movement and performing required bushing work in addition to assembling and final testing.
This is my one and only Ansonia clock. Since it is a fairly conventional time-only movement with an outboard escape wheel, it is fairly simple to work on and for those of you starting out, this is the first movement you should attempt.

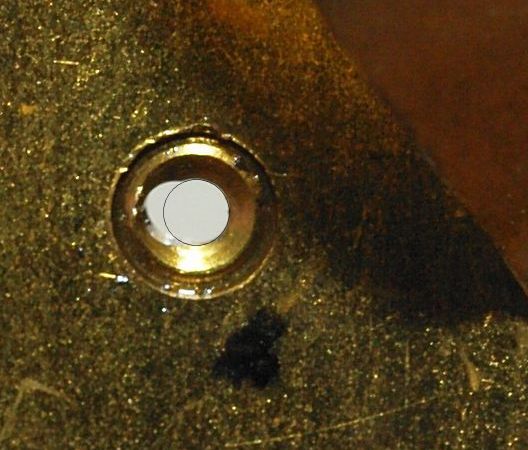
After applying a C-clamp to the mainspring to contain the spring’s power, I disassembled the movement, placed the parts in the ultrasonic cleaner, then cleaned and polished the pivots prior to the bushing work. The clock required six bushings, three on the front plate and three on the back. The worst was the third wheel, as you can see in this photo. This is not unexpected because of the constant power and stress produced by the mainspring, but it definitely indicates a very worn pivot hole.


The only challenge I had was dealing with the brass arm that supports the front plate pivot on the escape wheel (arrow). To install the bushing I had to stabilize the arm on the bushing machine without bending or breaking it, and using very light hammer strikes to seat the bushing.

The bushing went in nicely, as you can see in the next photo. Otherwise, the remaining bushing work went as expected.

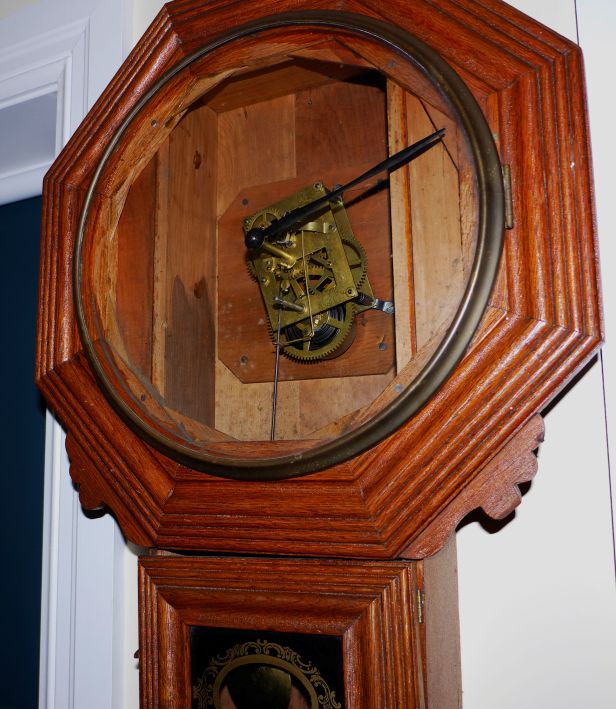
Although I have an excellent clock stand, I decided to test the movement in the case due to the acute mounting angle of the movement. I tossed out the old screw,s which did not appear to be original, and used new slotted brass screws to attach the dial pan and the hinge for the brass bezel. In the process of fumbling with the glazed bezel, I knocked off the brass catch that fits into a slot on the case front. An angled wood block fits into the notch on the catch when the bezel is closed. I got out my torch and, with some sanding, an application of flux, and sufficient solder, the catch operates as it should.

Since I serviced the movement, why not go one step further and refresh the brass? I gave all the brass a good cleaning with Brasso, bringing back its original luster. Someone messed with the clock face some time ago, which is unfortunate, but I have decided to leave it as-is. A new paper dial face would not look right.

A simple project that can be done in half a day, enough to extend the life of this handsome antique schoolhouse wall clock that will tick along for years to come.
Discover more from Antique and Vintage Mechanical Clocks
Subscribe to get the latest posts sent to your email.

Hi! This post couldn’t be written any better! Reading this post reminds me of my good old room mate! He always kept talking about this. I will forward this article to him. Pretty sure he will have a good read. Thank you for sharing!
http://studytip.eu
LikeLike
Thanks for coming to my blog.
LikeLike
Very interesting subject , appreciate it for posting .
LikeLike
Thanks for coming to my blog.
LikeLike
Great post Thanks for sharing.
LikeLike
Thanks for coming to my blog.
LikeLike