In a previous article on servicing this clock, I mentioned the challenge I faced with the mainspring. With only minimal tools at my disposal and no spring winder, I was determined to find a solution and successfully service the mainspring.

This clock was manufactured by New Haven and boasts a classic design with a twelve-inch Roman Numeral dial and a distinctive short drop style.
The softwood case is veneered in Rosewood veneer accents. The clock’s case must have been quite elegant at one time, but now it is showing much wear and tear.
Given the condition of the case, I anticipated that the movement would be just as well-worn. It was in better condition than I thought.

Let me point out that the servicing is being done under less-than-ideal conditions. I am at our summer cottage with only the basic tools for clock repair, so I must either improvise or skip certain procedures.
No spring winder | no problem
The movement had already been restrained with a heavy copper wire.

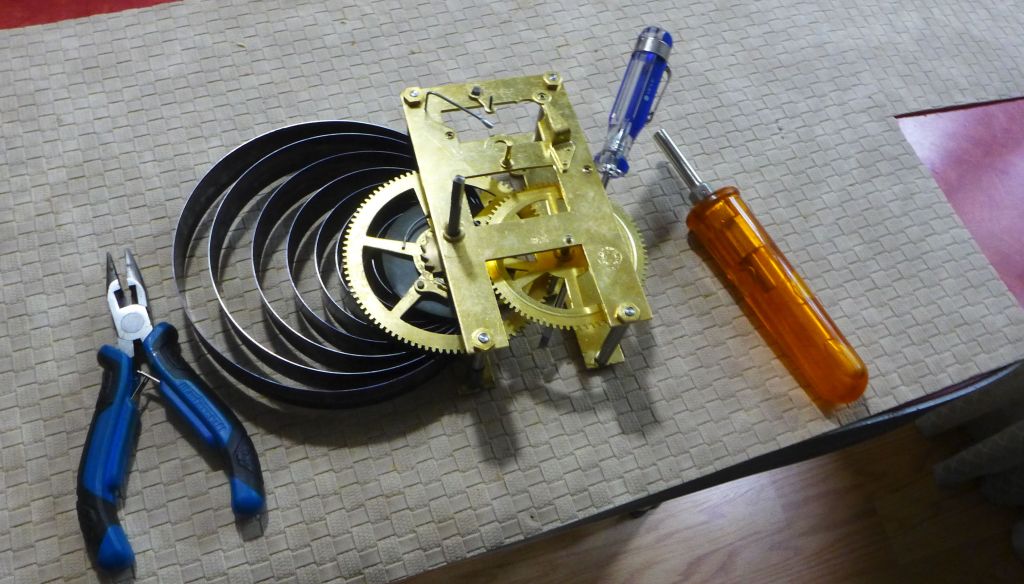
First, partially reassemble the movement with only the main wheel and second wheels. Reattach the front plate and secure the movement with the 4 pillar nuts.
Attaching the second wheel allows the main wheel to be stabilized while the spring is wound using the ratchet.
Safety first
I strongly recommend wearing leather work gloves and eye protection. Handling mainsprings under tension can be hazardous, so prioritizing safety is crucial. Precautions are essential to protect yourself from potential injuries.
Next steps
The key is to hold onto the second wheel while winding the clock. Once fully wound the copper restraining wire can be removed. In the photo below the screwdriver is arresting the wheel while I take the photo.
Then, using a letdown tool, release the click by popping out the click spring from the rachet and allowing the mainspring to unwind. The main wheel with the relaxed spring can now be safely removed from the movement.
Servicing involves carefully removing the main wheel from the spring, manually inspecting and cleaning the spring, re-oiling it, and reconnecting it with the main wheel.

Reassembly
After cleaning the main wheel and the spring, simply reverse the procedure. Reattach the click spring, join the main wheel and the mainspring, place them back in the movement along with the second wheel, wind the spring, and secure it again with the copper restraining wire. Once this is done, you can continue to reassemble the movement.
May not be suitable for all applications
This approach allows the main wheel to be cleaned in the ultrasonic cleaner along with all the other movement parts.
While this method may not be suitable for all open mainspring designs, it might be the solution for you.
Servicing a mainspring without a spring winder isn’t ideal, it can still be done safely and effectively.

Servicing this movement is reminiscent of days gone by when Dad (or Mom) would gather tools from the shed to fix the family clock. The repair might not have been perfect, but the goal was always to keep the clock running reliably until the next time it needed attention.
Discover more from Antique and Vintage Mechanical Clocks
Subscribe to get the latest posts sent to your email.

You must be logged in to post a comment.