This 8-day Seth Thomas column and cornice time and strike shelf clock with sleigh front needed a little love. It has a Plymouth Lyre movement with a Thomaston Conn. label. The clock was made in the 1870s. and purchased five years ago and has been running since.
I will take you through my early days of veneer repair. It is probably not my best work but it was a fun and challenging project plus, there was good learning.
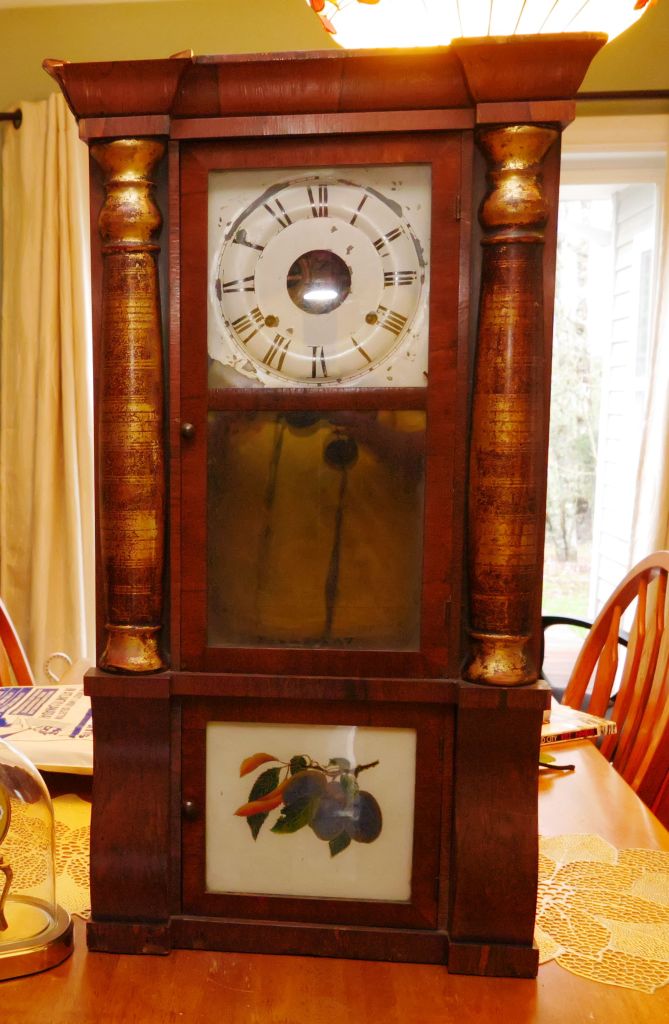
A previous owner had applied brown paint on areas of veneer loss, it looked ugly and when I saw that I decided the case could use a little tender loving care. Many of these clocks are in decent condition for their age but if you are shopping for column and cornice clock from this era take note of veneer losses. You may want to reconsider your decision to purchase if you feel it is not worth the time, effort and expense or if there us so much loss that it is unsightly.
Of course, there is always the school of thought that advocates leaving things as-is and that is perfectly fine. But, a little veneer work is minimally invasive, in my view.
Veneer issues
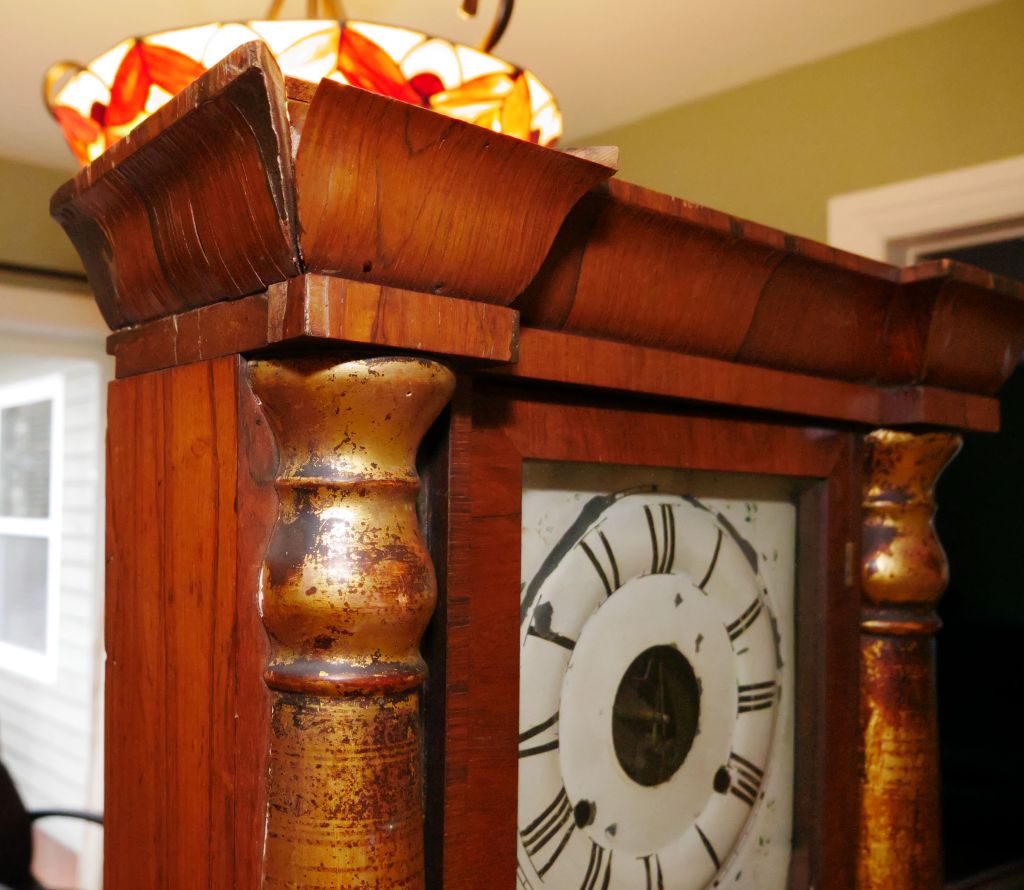
The most troublesome sections were the top and bottom of the case and the column base, not surprising since those are the prime targets of wear and tear over the years. Most of the cornice veneer is in good shape as are the door sections, door surrounds, and the sleighs just above the feet. Although there is work to be done, I have seen worse.
The veneer used at the time was Brazilian Rosewood, an exotic wood. Rosewood would have been used extensively by clock-makers of that era and replacement Rosewood veneer would be the correct choice. I have two 7 X 8 inch pieces of Rosewood veneer, more than enough for this project.

Prep-work and other case issues
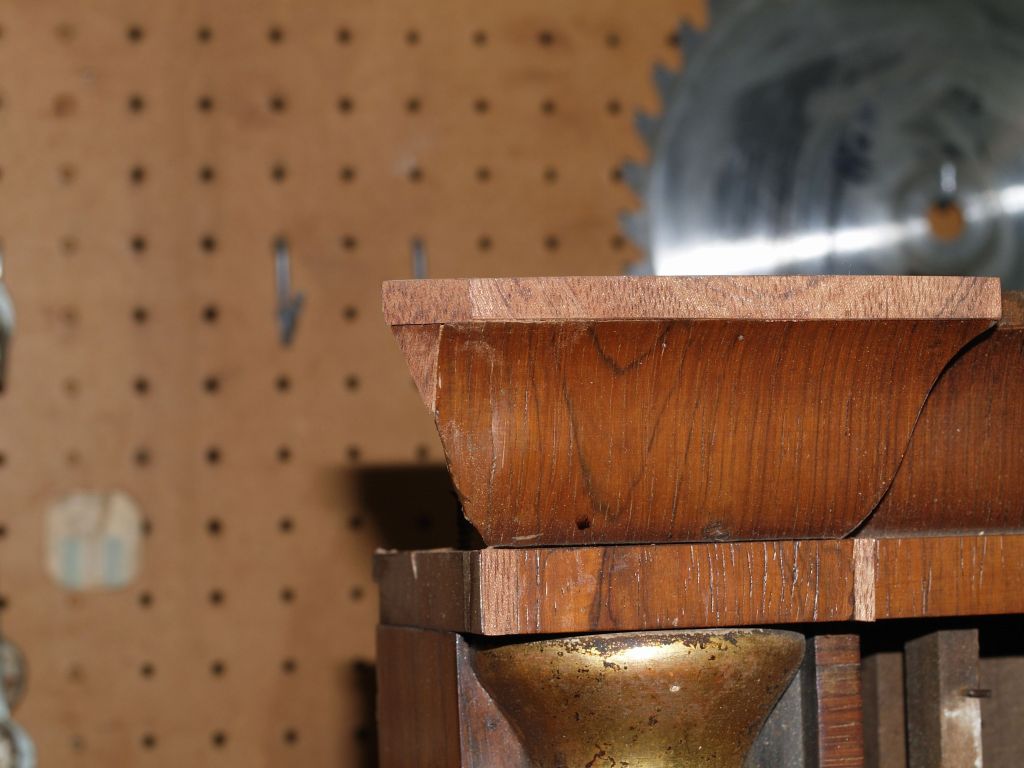
The cornice on the left side was missing a section and that had to be attended to before the veneer work began.
Using scrap softwood I made a small piece and trimmed it roughly to fit. In this photo, I am testing the piece and making minor adjustments for a snug fit. The section is then glued in place and allowed to dry for 24 hours.
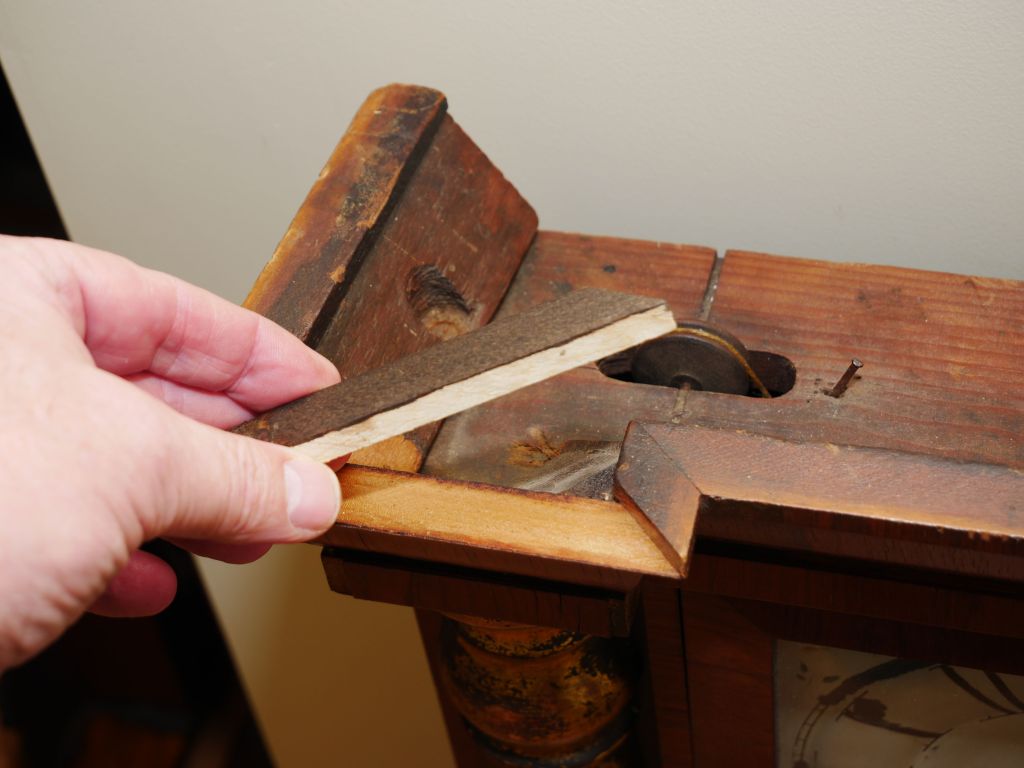
The top area of the front cornice is now ready to be faced with veneer.
The sections with brown paint had to be sanded down to the bare wood to improve adhesion before gluing the new veneer.
In selected areas, small sections of old veneer were removed to make way for larger replacement pieces.
I have decided not to tackle the columns. There are some losses but from a reasonable distance, they are fine.
Hide glue and Bloom strength
The one true adhesive for antique clock case applications is hide glue. Hide glue would have been utilized at the time the clock was manufactured.
I chose pearl hide glue which is rated at 150g Bloom strength (500g Bloom strength, the maximum, is not necessary for this type of repair). 150g hide glue takes a little longer to gel and adhere but with the slightly longer working time moving pieces around for best fit is easy.

To ready the adhesive place the container with the gelatinous glue in a bath of water in a pot specially designed for hide glue or a double boiler which worked equally well for me. Heat to approximately 140°F (60°C), using a candy thermometer and maintain the temperature throughout. Heating the wood surface with a hair dryer before applying the glue is an option. Full strength is reached when it’s dry, and that can take 24 hours.
An excellent article on hide glue and its strength properties can e found here.
It is best to start with a small batch. Put 2 tablespoons (30ml) of glue in a glass container and cover with 1 tablespoon (15ml) of cold water and let soak for about an hour or until the glue softens and becomes gelatinous. To make a larger batch simply follow the 2 to one rule. I recommend making small quantities, to begin with. If there is glue left over I find that it can be frozen and reused later with no ill effect.
Tools
Clamps, weights, tweezers, wax paper, a sharp knife, a metal straight-edge, painter’s tape, a micrometer, sandpaper, palm sander, and whatever you choose to use as a double boiler complete the list of tools.

A micrometer is an indispensable tool for accurate measurements. Accurate measurements ensure a good fit, minimize the use of fillers and lessen waste.
Cutting, trimming & clamping
The cutting of veneer can be tricky. Veneer is brittle, and can easily tear. Veneer today is quite different than veneer used 100+ years ago as it is very thin. On some clocks you must double-up or layer the veneer to approach the height of the original veneer. Another alternative, and a better option, is to harvest veneer from old clock cases. Old veneer is thicker, is very close to the look and feel of the original finish but just as brittle.
If old veneer is hard to work with, softening it with water will have a small and short-lived effect on a veneer’s flexibility. Another option is a product called Super-Soft 2, said to be ideal for softening veneer. For the little veneer work that I do I cannot justify the cost of a commercial softener and water is satisfactory for my purposes.
The next photo shows a veneer section glued and clamped into place. Wax paper is used to prevent the glue from sticking to the clamp. Clamps are essential for veneer repair but when clamps do not work other methods such as weights can be employed. Leave the clamp on for 24 hours for maximum adhesion.

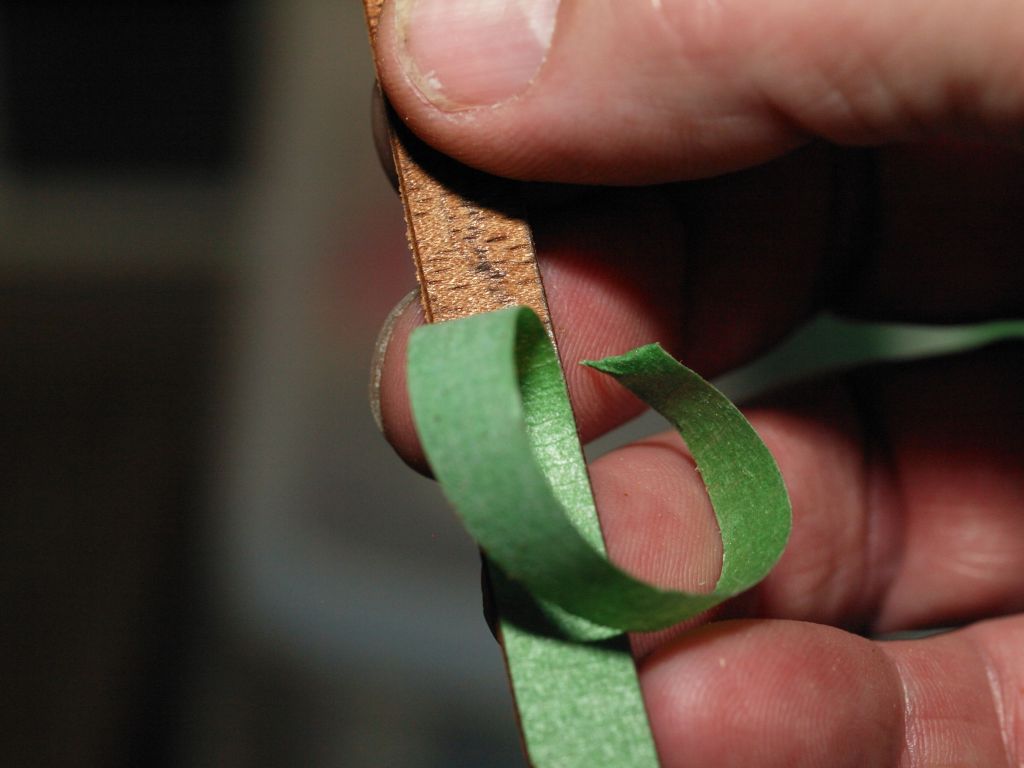
Cutting can be a challenge since you must follow the grain and narrow strips can break very easily. Painters tape prevents tearing and is easily removed from the veneer prior to or after the application.
The most challenging areas were the very top and very bottom of the case and the column bases but after many hours the veneer work is now complete. The next step is colour matching the new to the existing veneer.

Rosewood Minwax Gel stain is a close match to the older veneer but I would recommend experimenting with a coat of shellac first before applying a stain, in fact, a stain should be a last resort.

There is always good learning resulting from each project and in retrospect, I should have replaced the entire section under the left sleigh rather than cut two pieces of veneer to fit either side of the existing piece.

As with any other project, there will always be a slight colour variance between old and new veneer and the goal, as always, is to come as close as possible to the original finish.
The last photo shows the completed clock with a repainted dial and a new middle tablet.
Discover more from Antique and Vintage Mechanical Clocks
Subscribe to get the latest posts sent to your email.

Thanks for the detailed description of hide glue and veneering.
LikeLike
Skilled approach for a great repair job.
LikeLike
Thank you.
Ron
LikeLike
nice work
LikeLike