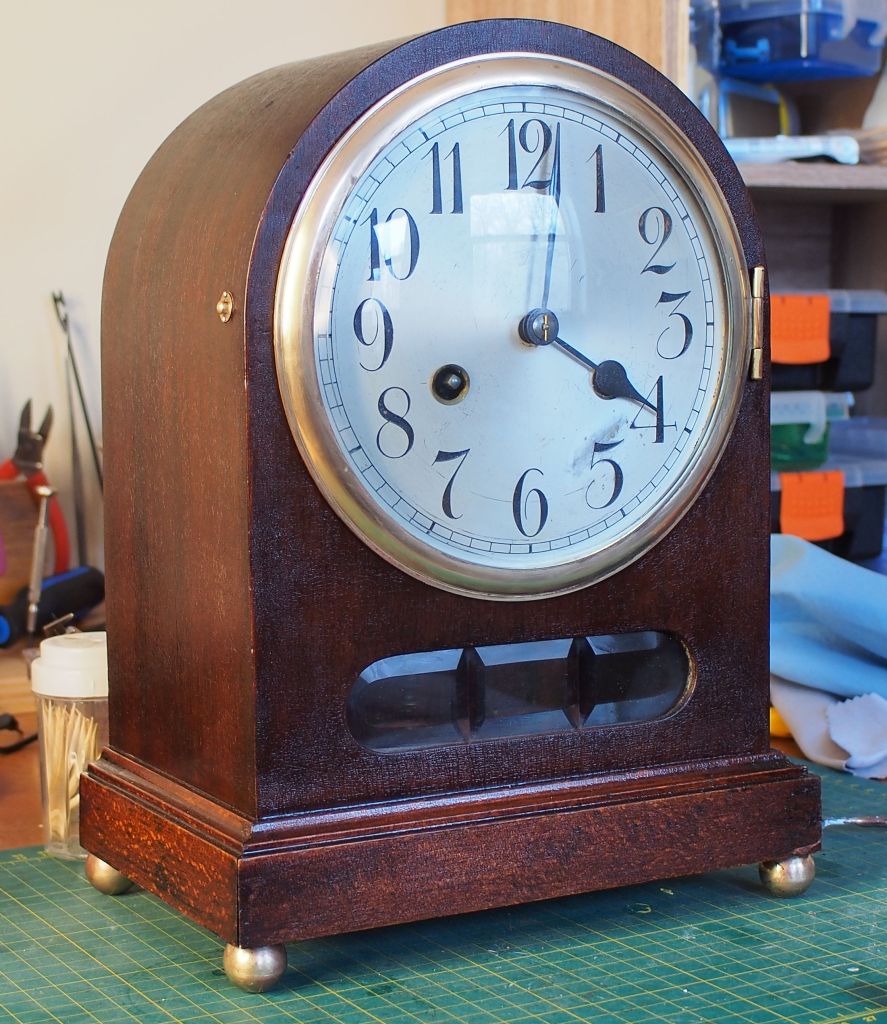
In the past two weeks, my focus has been directed towards the servicing of a Junghans roundtop mantel clock. This particular time and strike mantel clock is the Hunsruck model manufactured in the second half of 1913 (stamped B13 on the rear plate). For first impressions and background information about the clock itself, you can go here. For a description of mainspring servicing, you can find that article here.
During this part of the servicing process, my attention will be focused on bushing work, reassembly (with some tips), final testing, and addressing the condition of the case.
My initial assessment revealed that the movement was generally in good condition. While some previous work had been done on it, limited to a basic cleaning, no substantial repairs were evident. Nevertheless, a conspicuous buildup of dirty oil was observed in most pivot holes, underscoring the need for a good cleaning.

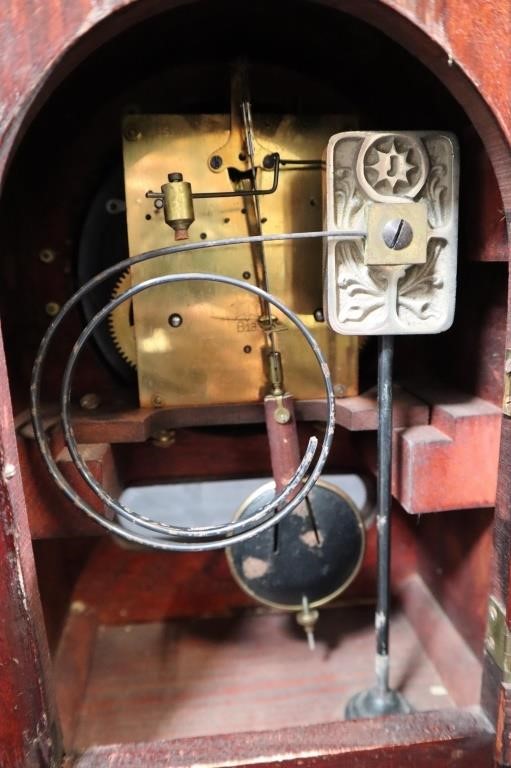
Upon closer inspection, elongated pivot holes in three locations told me that new bushings were necessary: specifically, the third wheel time side, back plate, and both the front and back plates of the star wheel. The star wheel runs off the count wheel and it is the star points that move the tail that activates the hammer to produce the strike on the half hour.
The pivot holes were carefully cleaned out using toothpicks as the first step in the cleaning process. Subsequently, I examined the pivots on each wheel by running a fingernail across them to detect any ridges or imperfections, and they appeared to be in excellent condition. I also verified the integrity of the pins in each lantern pinion. Upon confirming that I had addressed all that I could at this point, the next phase involved cleaning the components in the ultrasonic cleaner.
Once everything was out of the ultrasonic cleaner all components were thoroughly dried to remove all traces of residual moisture.
Now to address the worn pivot holes.

If you are accustomed to handling traditional time-and-strike American clocks, the small pivots on these German clocks might cause some unease. The diameter of each bushing measures just 2.47mm (Bergeon bushing size), whereas conventional bushings for an American clock are often 3.47mm and larger (again, Bergeon-sized bushings).
In the above photo, I use a centering bit to ensure a precise cut into the plate so that the bushing can be seamlessly inserted.
To ensure a precise fit the newly installed bushings are reamed using a cutting broach, followed by smoothing with a broach and cleaning with a toothpick. After each new bushing is in place, the wheels are test-fitted to ensure they spin freely plus sufficient end shake.
Given the delicate nature of the pivots, handling each one requires careful attention, as a broken pivot and its repair can be a challenging and intricate task on a German clock.
After the bushings are installed the movement is reassembled. Before attaching the back plate, all wheels, and levers are positioned in their respective locations.
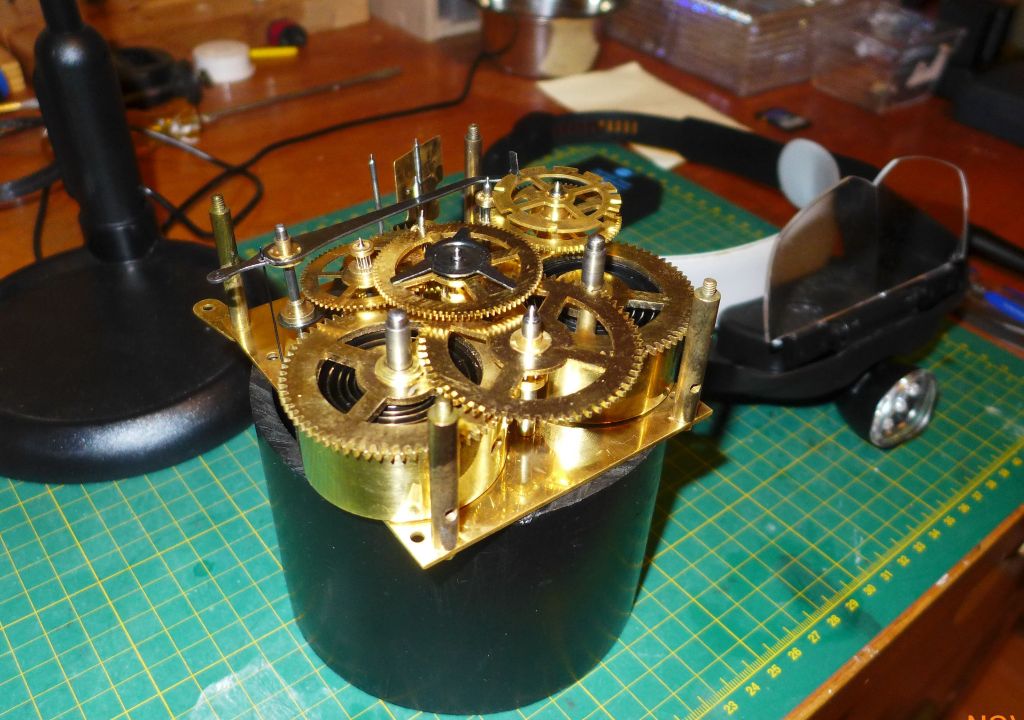
To avoid having to remove the back plate to make further adjustments after assembly addressing four specific items will ease the process;
- the count lever paddle must be in one of the deep slots of the count wheel,
- the cam lever must be on the flat section of the cam,
- the hammer tail must be positioned between two points of the star wheel (otherwise the tail contacts a star point, and the hammer will be left in the raised position preventing further striking)
- and the pin on the warning wheel must be in the 12 o’clock position to catch the warning lever.
In my experience, the hammer tail contacting one of the star points is the most common of annoyances and calls for parting the plates. It is worth noting that the levers on clock movements of this specific type are not adjustable so, bending a lever to fit is not possible.

Utmost attention must be paid to moving the pivots carefully into their respective holes as the risk of a broken pivot is very high at this point in the process. A “pivot locator” is an indispensable tool for safely moving pivots into their holes while working on the movement.
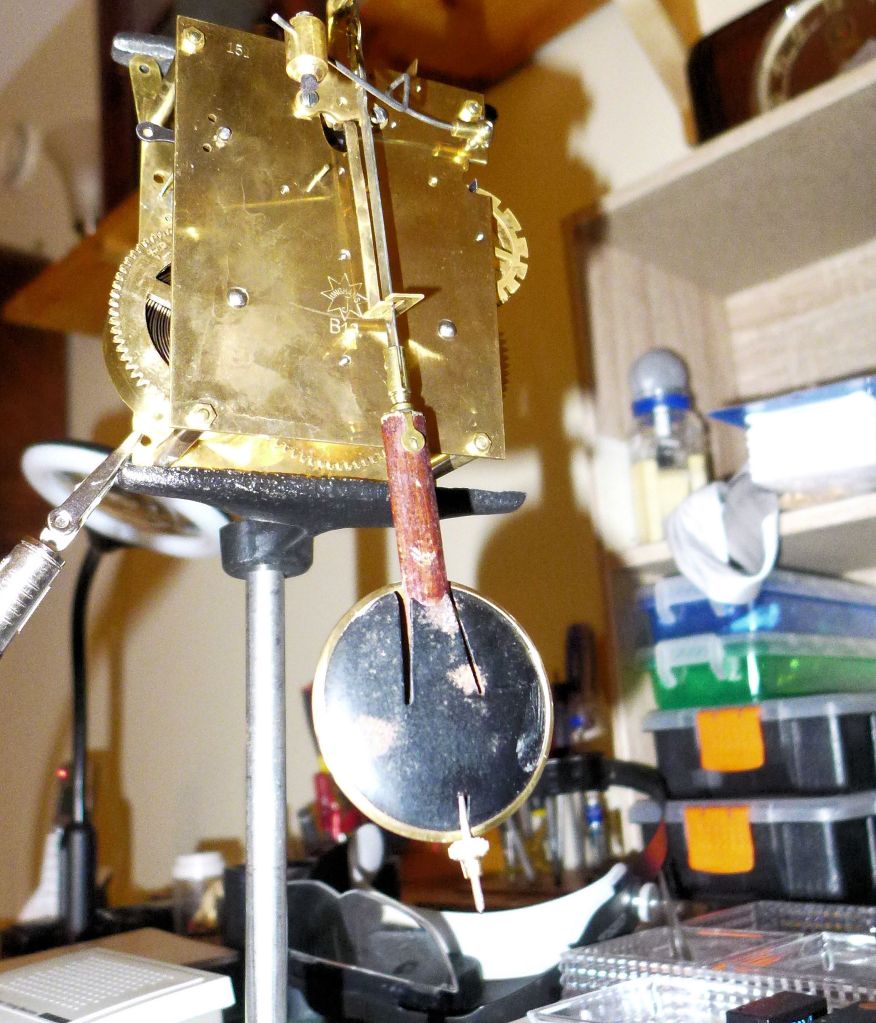
Prior to mounting on the test stand, the movement is oiled using Keystone pivot oil. As with oiling any clock, the maxim is “less is more”.
The testing phase is one of the most crucial parts of the process, providing a chance to make minor adjustments and regulate the movement. I routinely ensure that the movement goes through at least two or three operational cycles while mounted on the test stand. Once I am satisfied that the movement is running well and needs no further remediation it goes back into its case.
While the movement is being tested I generally address any issues regarding the case. Little needed to be done to this attractive oak-cased roundtop and a general cleaning with Murphy’s soap and an application of paste wax preserved its patina while sprucing up its appearance.
Servicing an antique clock not only respects its history but also keeps its mechanism working for future generations to appreciate.
Discover more from Antique and Vintage Mechanical Clocks
Subscribe to get the latest posts sent to your email.

You must be logged in to post a comment.