Bushing wear is a common issue that can occur on antique brass clock movements. A bushing is a small hole drilled into the plate that is used to support the pivots and reduce friction between the pivots and the clock’s plates. Over time, the bushings can become worn down or damaged due to friction, which can cause a clock to malfunction or stop. Other factors such as the environment the clock is in, the lack of periodic lubrication, and the build-up of dirt and grime combine to exacerbate wear over the years.
When bushing wear occurs, the clock’s pivots may become loose or wobbly, which can lead to the gears not meshing properly or becoming stuck. This can result in the clock losing accuracy or stopping altogether.
To repair bushing wear on an antique brass clock movement, the bushings or the holes must be drilled out and a new bushing inserted in its place. The new bushings must be precisely fitted to ensure that the clock’s pivots are properly supported and that the clock runs smoothly.
On my bench is a Sessions time-only schoolhouse clock made in the early 1920s. According to the label on the back, it is called the Office.

Factors at play when a clock stops
The clock stops when fully wound. There are essentially two factors at play when a clock stops. When the mainspring is fully compressed dirt and grime act like sandpaper and prevent the power of the mainspring from releasing. Some erroneously call this “overwinding” a term that has stubbornly persisted over the years. Worn bushing holes add to the problem when the holes are so worn the gears do not mesh correctly.
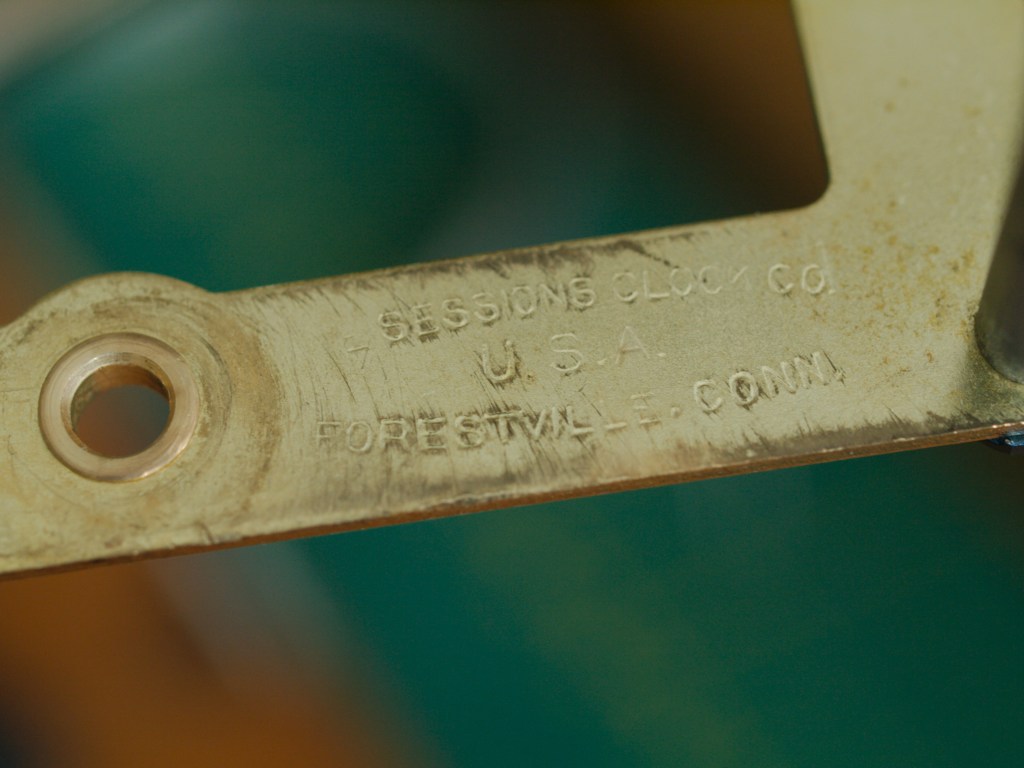
Sessions movements are not new to me and I have worked on identical movements in the past. Compared to the others I have worked on, this one has minimal wear with one peculiarity detailed below.
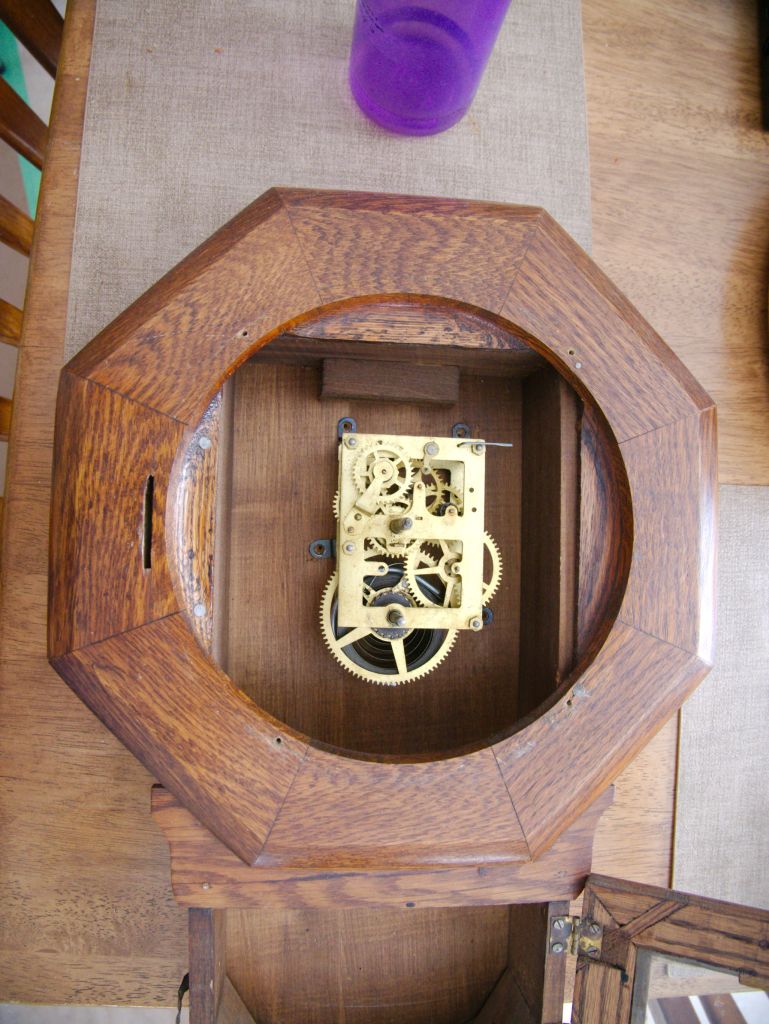
There is no doubt this movement has been worked on previously judging from pivot scratch marks around the bushing holes and a replacement click spring. The leader and suspension spring have also been replaced at some point in the clock’s life and judging from the condition of the suspension spring, it may need to be replaced in this servicing.
While there is some movement in all the bushing holes the worst is the 3rd wheel rear plate and the escape wheel front and rear plate. The holes in those three locations were drilled out and new bushings were installed in their place.
Despite slight wear on all other bushing holes, there is not enough to warrant new bushings at this time. Naturally, if I were in the clock repair business I would consider bushing the entire movement.

In this case, replacing bushings in the entire movement is not necessary as the clock will remain in my collection and as such will be inspected every 2-3 years for wear.
One of the unique features of clocks such as this is their ability to be hung and forgotten and continue to run quite well while very worn, a testament to their rugged design.

And now the eccentric repair. The click spring retaining tab/hook was snapped off for whatever reason. As a result, the replacement click spring winds its way through to the outside of the wheel by hooking into a hole drilled in the spoke. It is a little odd but as it works well there is no requirement for remediation. Aesthetics aside, some repairs do not need to be reversed if the part functions well.

The mainspring has plenty of “spring” left in it which makes me wonder if it is a replacement.

During servicing the mainspring was unhooked from the main wheel arbour and using my Olie Baker spring winder, it was extended and thoroughly scrubbed with a Scotch-Brite heavy-duty scouring pad, and lubricated with Keystone clock spring oil. There was certainly enough dirt and grime to stop the clock in the spring’s fully wound position and a good cleaning solved the problem.
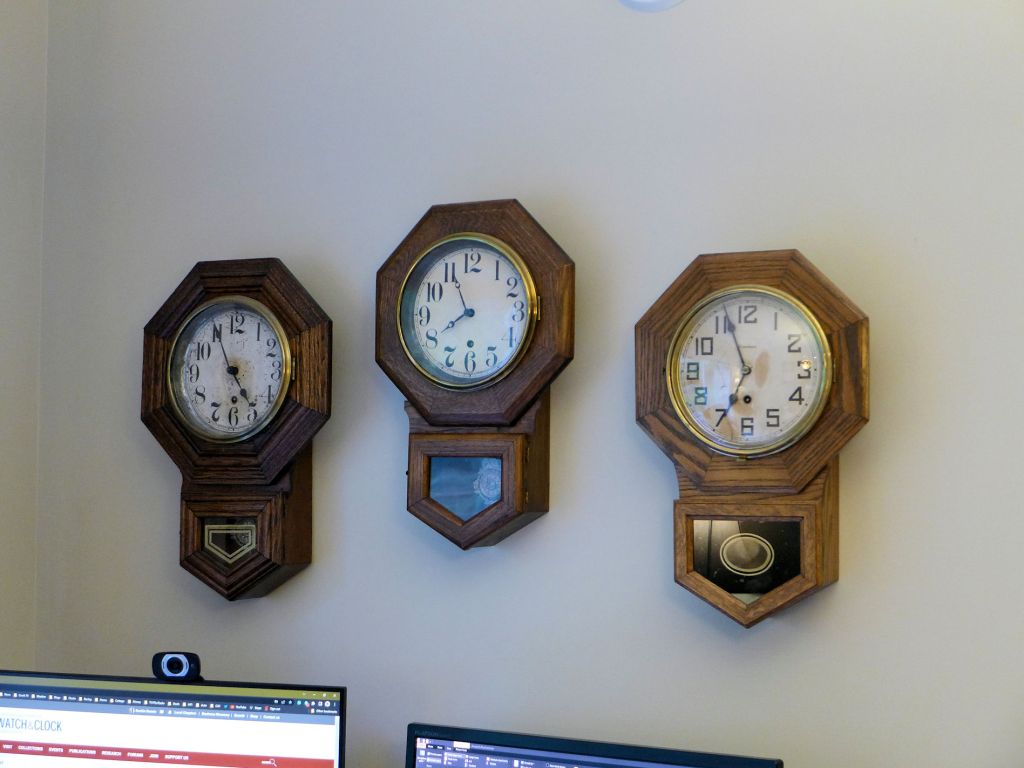
After a brief testing period, the movement was remounted and it is now on display on my kitchen wall where it rejoins its cousins.
As the tiny hands look rather silly, the correct clock hands will be added to my next clock supply order.
Discover more from Antique and Vintage Mechanical Clocks
Subscribe to get the latest posts sent to your email.

You must be logged in to post a comment.