This wall clock was gifted to me in the spring of 2022. I have no idea who made the clock, there are no markings on the case or the movement. It was likely sold by the Forestville Clock Company of Toronto in the 1960s and my guess, a Hermle movement. I could find nothing else about it online. I wrote an article in August with first impressions.
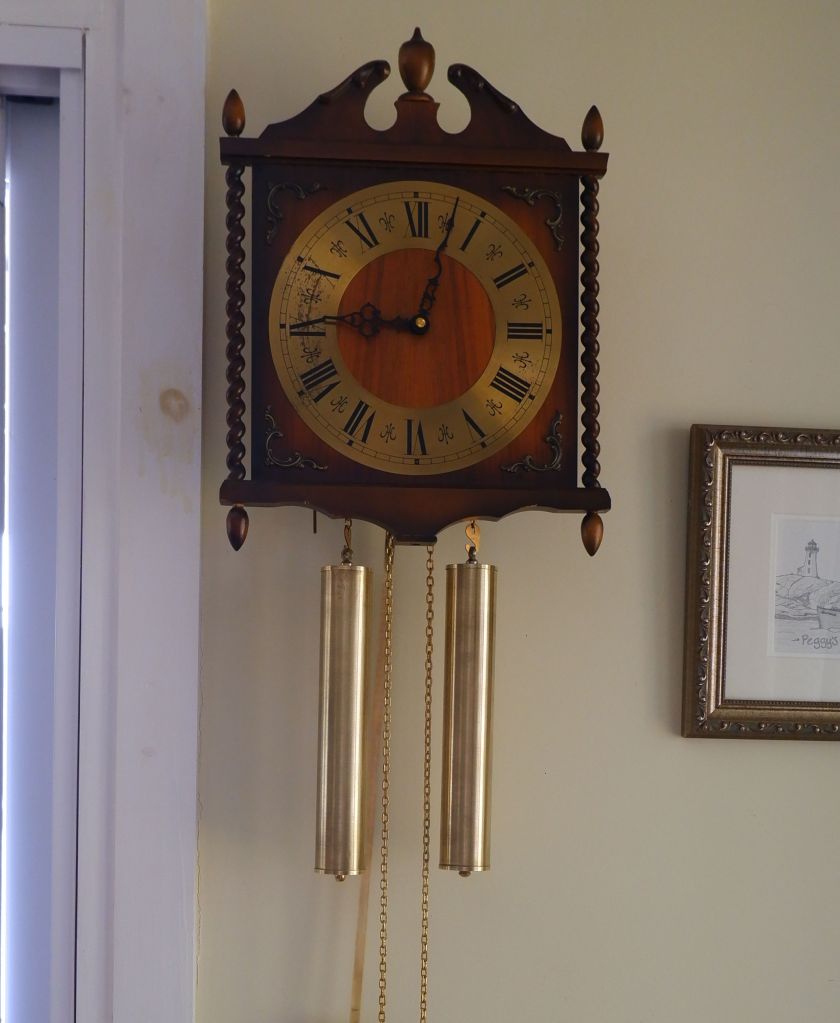
The style of the clock is a “wag on the wall”. It is a strange name but basically describes what it looks like it is doing, wagging its tail. A Wag on a wall clock is a clock with the movement enclosed in a small case with a pendulum and weights exposed.
From 1660 to about 1870, the wag-on-the-wall was a very common clock style. It is so named because the pendulum appears to wag on the wall like a dog’s tail. It is also a derivative of the English lantern clock (more closely to a converted one with a pendulum). It was eventually deemed not attractive enough to hang on the wall in many upscale homes, so wooden or glass and wooden cases were added. The long-case or grandfather clock evolved from this early wags-on-the-wall. Wooden cases were used to hide the unsightly weights and cast-iron pendulum.
The style did not disappear as many manufacturers continued making the wag-on-a-wall style clock to this day.
There were several clock assemblers operating in Canada up to the mid-1970s, and it was likely imported and assembled by the Forestville Clock Company of Toronto.
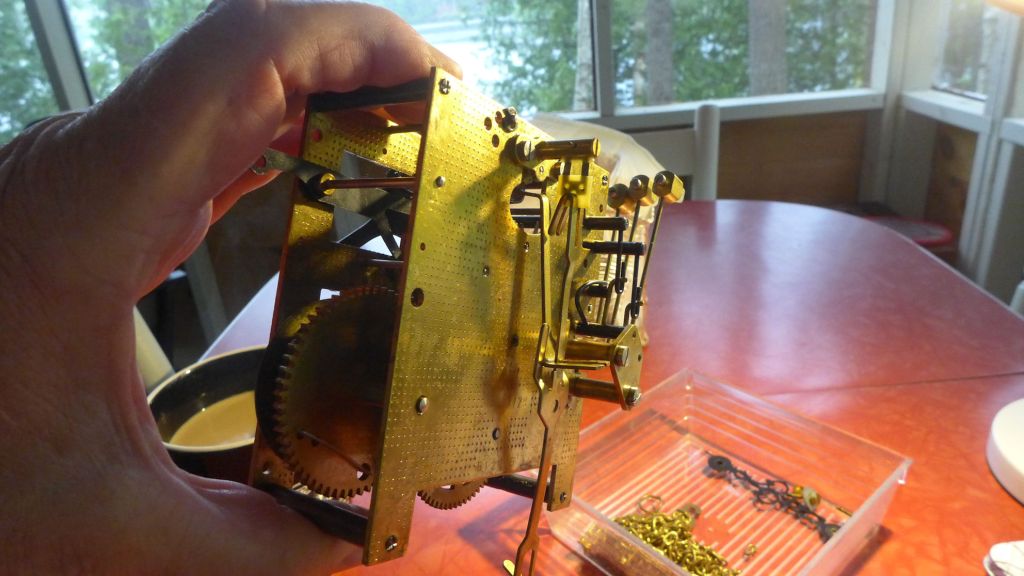
It is a rack and snail movement possibly made by Hermle. The second wheel teeth are larger than one would expect so, a lot of thought went into the design of this movement. I have worked on similar movements in the past though this one is a bit different, specifically the arrangement of the hammer assembly, one main wheel is the reverse of the other, and of course, it is a weight-driven time and strike clock.


Based on my initial observations the movement looks fairly clean despite the tarnished brass but I am expecting minor wear issues commensurate with a 60-year-old mechanical clock.
Disassembly
I took a number of photos prior to disassembly. This is my regular practice and although I have worked on many similar movements though there are always minor intricacies that differ from manufacturer to manufacturer.
To remove the movement from its case, two slotted screws holding the movement to the seat board are released plus, the weight chains must be pulled out. To release the chains the weight hooks must be removed.
The rack and snail assembly, minute wheel, hammer assembly, escapement, and pendulum leader were removed initially and placed in a collection tray. What remained were the wheels and the lifting lever between the plates secured by four pillar nuts.
The gathering pallet arbour and the main arbour are pressure fit. So, when I separated the plates most of the wheels fell out, of course. It can be a challenge for first-time clock repairers but when one works on a few there is a certain logic to the placement and orientation of the wheels.
Assessment of the movement
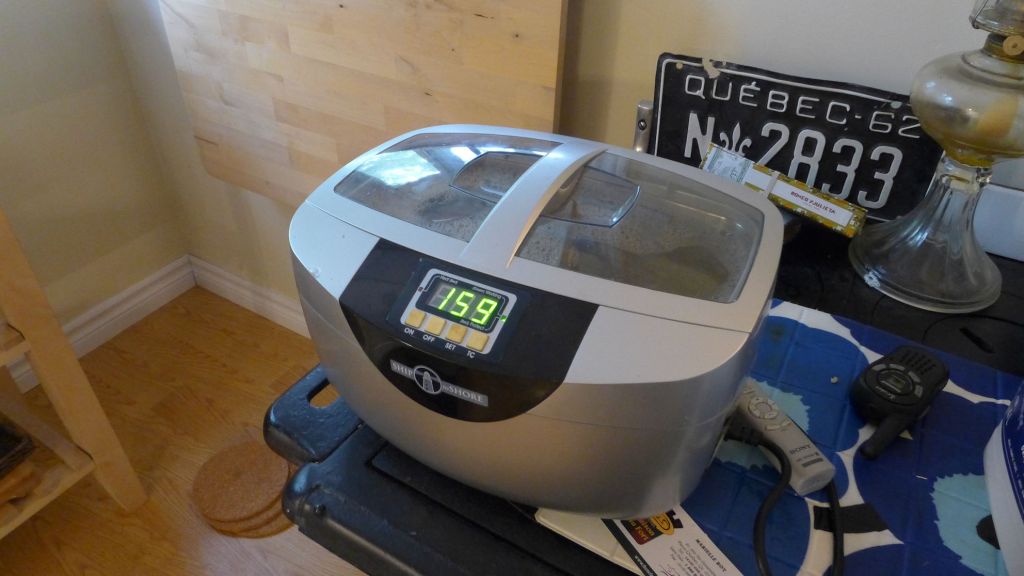
Because there was generally little wear, I made three decisions. I elected not to separate the central arbour and did not pull the gathering pallet from its arbour. As a result, the plate with two arbours attached was placed in the ultrasonic. I did not disassemble the main wheels which were held together with pressure washers. The main wheel ratchets and chain teeth are in very good condition and the ratchet assembly worked as it should and there was no need to take them apart.
I cleaned up residual oil and dirt around the pivot holes, removed excess oil from the pates, inspected the pivots for wear, and placed all parts in the ultrasonic cleaner. Since I was using a smaller machine than my regular US cleaner, the parts were cleaned in three batches which took a little longer.
I took special care drying the main wheels assemblies and ensured they were operating correctly after they were completely free of any moisture
My wife’s hair dryer came in handy but after cleaning and drying all the parts it fell off the table and broke. Sigh!
The pivots, which are in very good condition, are polished, the pivot holes pegged out and the next step is bushing work. Two bushings are required, the second wheel front plate and the centre wheel, back plate. There is minor wear on those two holes but why not address them while the movement is apart.
Reassembly
As with many rack and snail movements, most adjustments are made after the wheels are installed within the plates but three minor adjustments make the job easier and that is ensuring the gathering pallet is free of the rack, the stop wheel is in the 12 o’clock position and the hammer actuators are free of the star wheel. They must be between the star tips, if not, one of the hammers will catch on a star tip and stall the strike.
Testing
Once fully assembled the next step is installing the chains, weights, pendulum, and testing/adjustment. A small adjustment to the height of the pallets was made after which the clock ran well and continued to run well after 5 days. It is keeping very good time, as expected of a weight-driven movement as any clock that is powered by weights releases its power uniformly through its rated cycle.
Yes, it is a very plain-looking clock that reflects the style of the time (the 1960s) but it might grow on me.
Discover more from Antique and Vintage Mechanical Clocks
Subscribe to get the latest posts sent to your email.

You must be logged in to post a comment.