Antique wall clocks hold sentimental and aesthetic value, and preserving them often requires delicate restoration work. Purchasing replacement glass and securing it to a frame is one such restoration project.
Securing glass to the bezel of an antique clock can be achieved in several ways. It can be secured with tacks or clips or in the case of a metal bezel, brass tabs are soldered into the frame once the glass is in place. However, securing the glass to a wooden bezel can be more easily achieved by using Plaster of Paris.

This versatile material, which can be found in any hardware store, when mixed with water, creates a durable and easy-to-use bonding plaster. In this step-by-step guide, we’ll walk you through the process of using Plaster of Paris to secure glass to the bezel of an antique wall clock.
Upon acquiring my Ansonia Extra Drop time-only clock, crafted in the early 1880s by the Ansonia Brass and Copper Company, I faced the challenge of its restoration as you can see in the following photo.

Despite its seemingly hopeless condition, the clock retained its essential components, with the sole exception of the brass dial bezel. Although the movement was encrusted with dirt, it remained intact and presented a salvageable opportunity for restoration.

After considerable sanding, rust removal, freeing of seized wheels, and subsequent bushing work, the movement miraculously began to run.

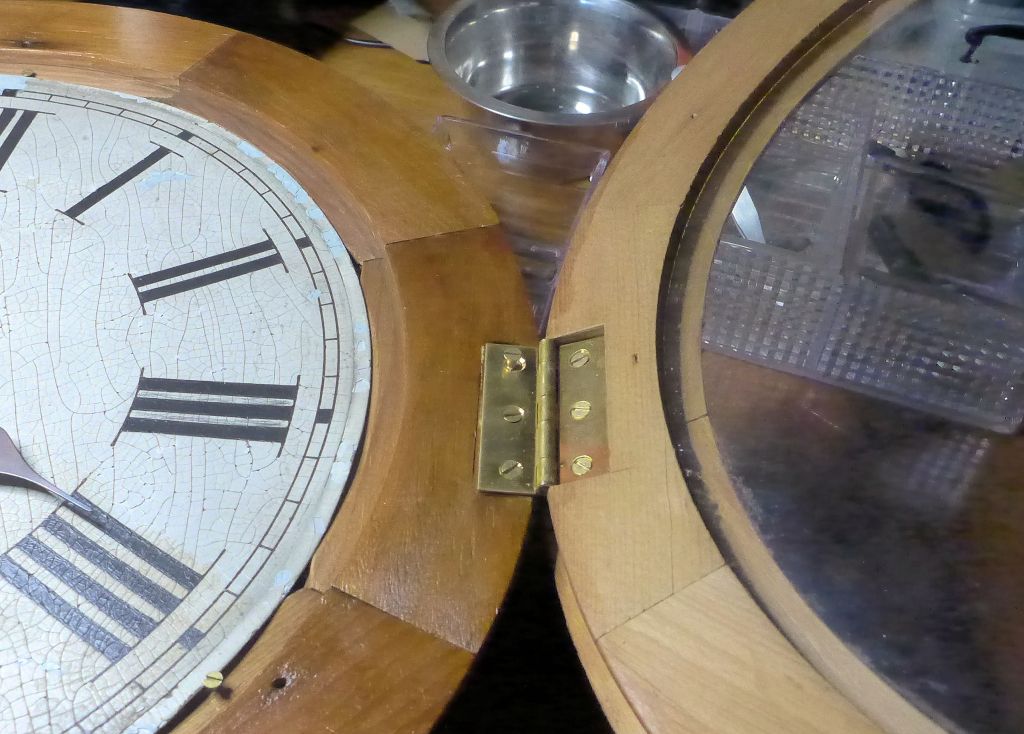
However, the glass was not securely fixed in its bezel and was temporarily held in place by tacks. I needed a more lasting solution to ensure the glass was firmly secured so, I opted for Plaster of Paris.
Except for the Plaster of Paris and the custom-cut glass, all the materials needed for this project are common items found in any household.
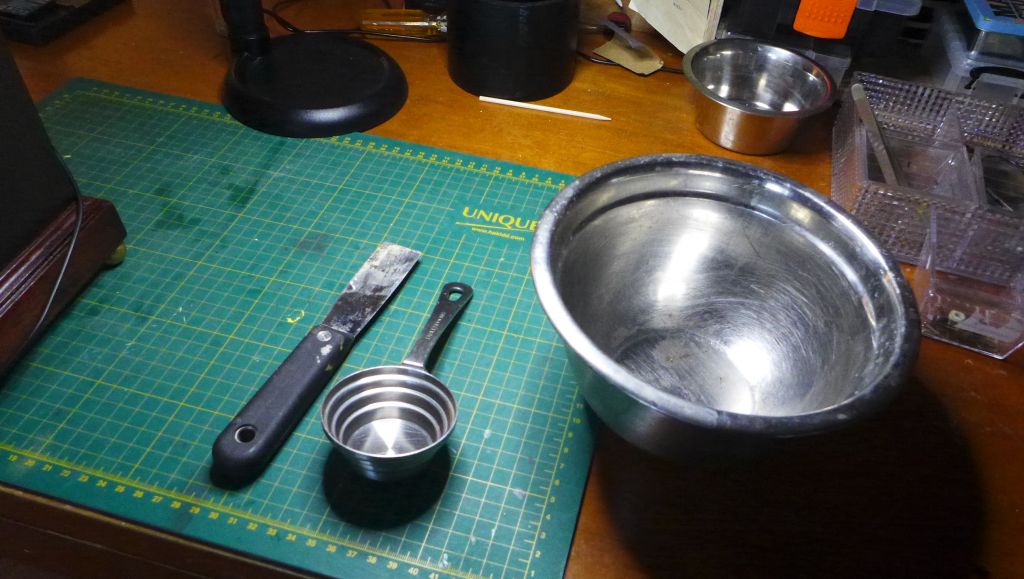
Materials Needed:
- Plaster of Paris
- Cold water
- Mixing bowl
- Stirring stick, spatula, putty knife
- Correctly sized glass from a clock supplier
- Paper towels or soft cloth
- Sandpaper
- Paint and brushes
Step 1: Detach the wood bezel from the clock case. Prepare the clock bezel by removing the glass and cleaning the bezel thoroughly. Use a soft cloth to wipe away any dust or debris. If the bezel has any imperfections, lightly sand the surface to create a smooth and clean area for the plaster.
Step 2: Mix the Plaster of Paris. The instructions on the Plaster of Paris package call for a two-to-one mixture (two parts plaster to one part water) which is far too thin. I have found that three to one or more is optimal to achieve the right consistency. Mix the dry plaster with cold clean water in a bowl; it should be the firmness of a thick paste. Stir the mixture thoroughly until you achieve a smooth, lump-free consistency.
Step 3: Secure the glass onto the cleaned bezel. If the glass moves too much, use painter’s tape or masking tape to temporarily secure it in place. This will prevent the glass from shifting while applying the plaster.
Step 4: Use a spatula or a one-inch putty knife (preferred) to carefully apply the plaster by spreading the mixture around the edges of the glass and onto the bezel. Ensure that the plaster is evenly distributed and covers the entire edge of the glass. Take your time to avoid air bubbles and uneven application. You have six to eight minutes of working time before the plaster begins to set.
Do not mix more material than can be used during the six to eight-minute period. However, if you have any left, simply find a hole in a nearby wall to patch.
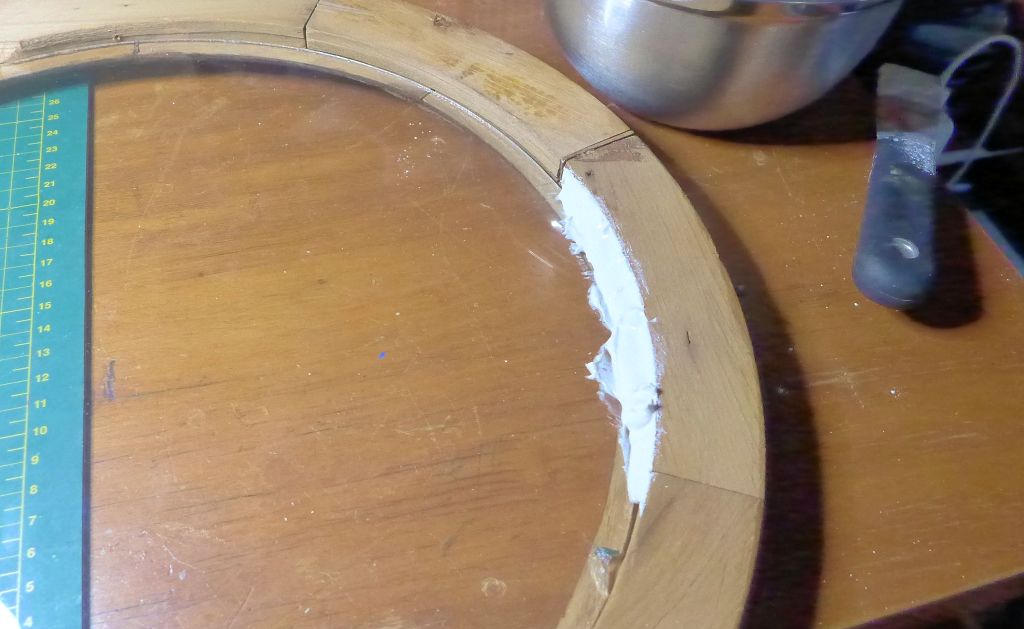
Step 5: Once the plaster is applied, use a wet finger or a damp cloth to smooth and shape the edges. Pay close attention to the corners and make sure the plaster forms a neat, even seal between the glass and the bezel.
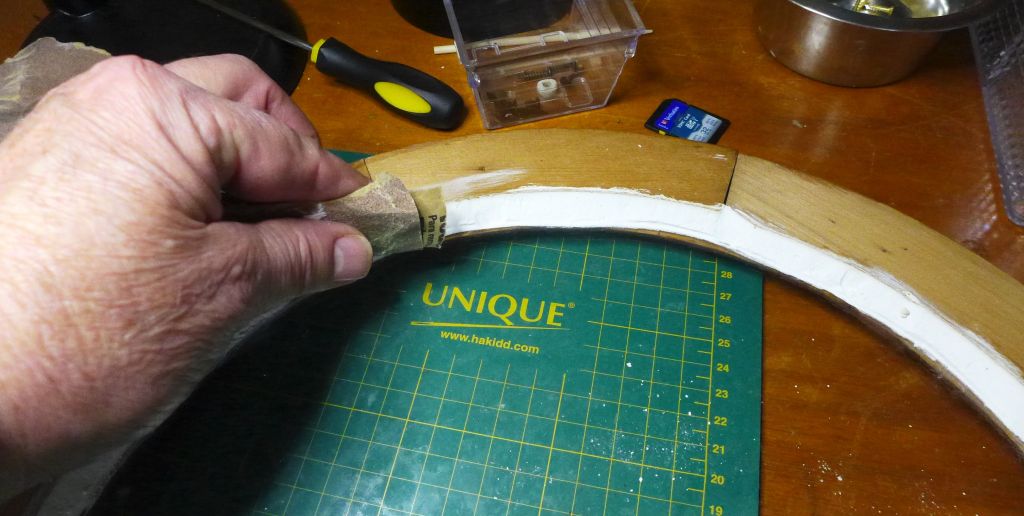
Step 6: Remove excess plaster before the plaster fully sets, by using a wet cloth and a putty knife to trim the edges. This will give the restoration a professional and polished appearance.

Step 7: Plaster of Paris hardens in about 30 minutes. Avoid disturbing the clock during this time to ensure a secure bond between the glass and the bezel.

Step 8: Plaster of Paris is paintable.
Touch up the bezel with paint. Aim to replicate the subtle hue of aged putty for a more authentic appearance.
Cure the Plaster of Paris for 24 hours before applying paint. Sand the rough areas with 200-grit sandpaper. Wipe down with a damp cloth. Apply the paint with an artist’s brush or equivalent. Allow the paint to dry completely before reassembling the clock.
Plaster of Paris in the bezel will contribute to a slight increase in weight, but the trade-off is enhanced rigidity.

Using Plaster of Paris to secure the glass to the bezel of an antique wall clock is a straightforward and cost-effective process that, when done correctly, can not only keep the glass securely in place but will add to the clock’s appearance with the added benefit of enhancing the structural integrity of the glass within its bezel.
Following these steps will go a long way towards preserving the beauty of your antique clock for years to come.
Discover more from Antique and Vintage Mechanical Clocks
Subscribe to get the latest posts sent to your email.

Certainly a full restoration, Ron – and a tremendous amount of skill and workmanship.
It’s beautiful…
LikeLike
Thank you.
LikeLike