Just before Christmas 2022, I published an article on a Hamilton Clock Co. 30-hour ogee that I won at auction earlier in 2022. I had been delaying repairs on the case for months and finally found the time to tackle the veneer work.
I seem to be strangely attracted to ogee clocks, this is my fifth acquisition over the past 6 years and I think that’s it, no more except for that seemingly rare-ish eight-day version from any American maker.
The Hamilton Clock Co is in no way associated with any American company or companies and is a wholly home-grown Canadian Company that made clocks in the late 1880s. in Hamilton, Canada that were styled after American ogee clocks of the time.
The clock was complete with weights, pendulum bob, original hands, dial, and even the top dust caps which are often missing from these old clocks. The movement was in good shape and other than installing 5 new bushings to address enlarged pivot holes there was no significant wear. The cables were replaced with braided nylon and the pendulum suspension spring/leader was also replaced.
The case needed veneer remediation, particularly the top corners. The entire side trim piece required a considerable amount of work and the bottom veneer strip was missing altogether.
The next photos showed how hopeless the top right and bottom sections appeared when I first received the clock and had a good look.
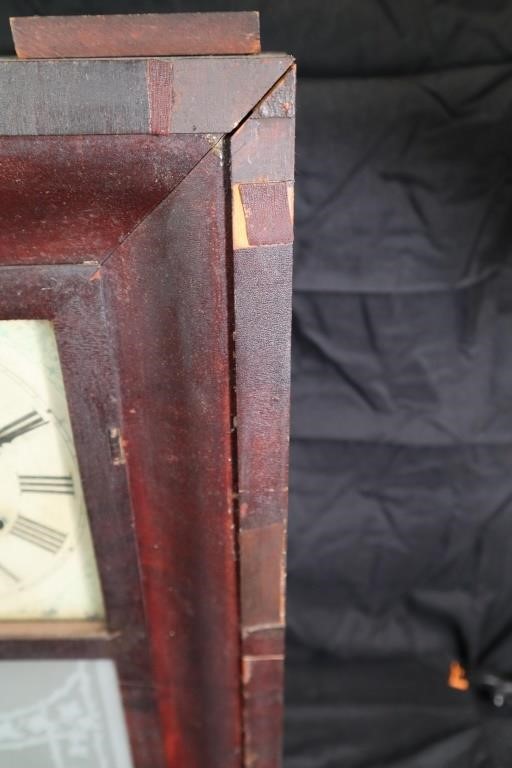

Some might argue that the case should be left as-is since the repairs however poorly are part of the history of the clock. This is the never-ending conservation/restoration argument that arises. Preserving some clocks as they are is certainly important but this was not an expensive clock and in this situation, I take the view that a repair will not only improve the appearance of the clock but enhance its desirability if completed correctly.
Step 1 – cleaning
The case is solid and no structural repairs are required.
My go-to cleaner is Murphy’s Soap which I cut half and half with water. I begin by cleaning the case which unfortunately means removing some of the shellac. This is unavoidable but there is enough shellac remaining that the case would not be stripped in the true sense of the word. I removed the right side trim completely to work on it separately. The plan was to glue it and the bottom trim piece back on when I was finished with the veneer repair.
Step II – veneer work
I usually keep a supply of veneer harvested from old clocks. I am not the best judge at identifying wood types and find myself confusing Rosewood with mahogany at times but I make a comparison based on what I have and what seems to look the best by comparing colouring and grain and for the most part, it looks acceptable when the job is completed.
I have also learned recently that makers will occasionally use different types of wood veneer on the case surfaces at the time of manufacture and simply dye/tint them to match. In fact, while cleaning the dust caps a bit of colouring transferred to the rag and it looked very much like ocher.

Medium-strength hide glue is mixed prior to the project. The working temperature is about 160-170 degrees Fahrenheit.

Painter’s tape is used to ensure that the ends are not damaged during the cutting of the veneer.
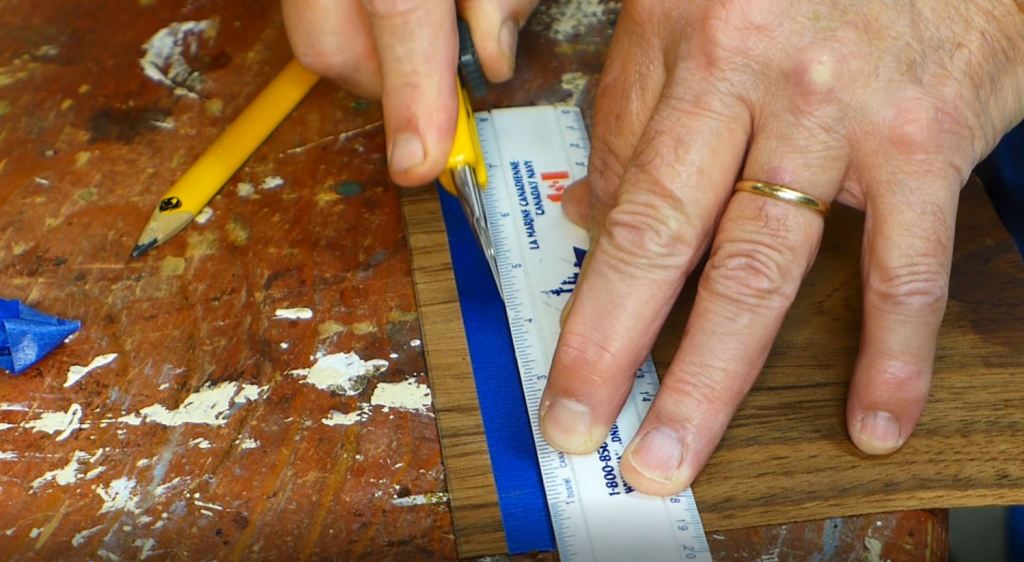
An artist’s or carpenter’s blade is used. Ensure it is good and sharp, you don’t want the blade pulling on the veneer as you cut.

Depending on the bonding strength of the hide glue you have a limited amount of time to secure the veneer in place.
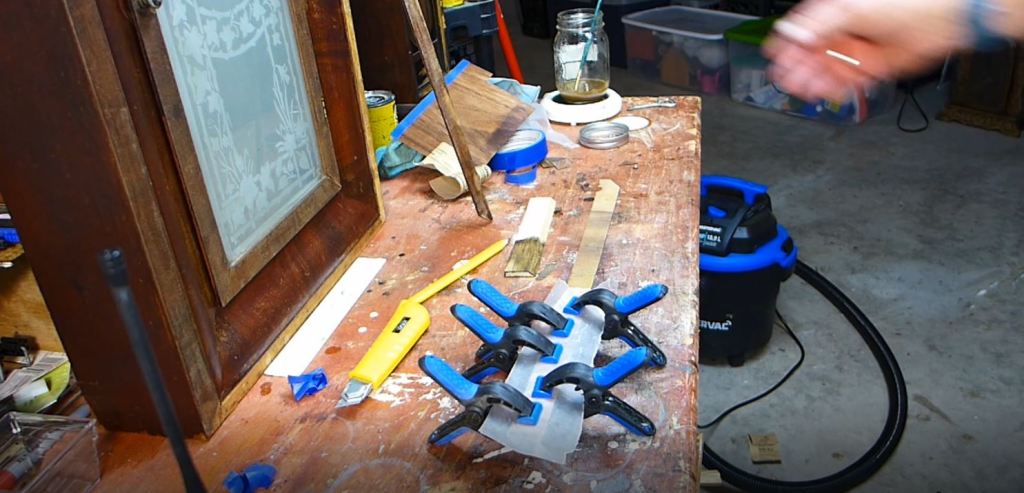
Have plenty of clamps large and small on hand.

Once the veneer is attached to the trim piece and allowed to dry for 24 hours it is time for gluing and clamping the right and bottom border strips to the case.
Step III- – the shellac finish
Once the case has dried for 24 hours the shellacking can begin. I use an artist’s brush for the application of shellac using long and even strokes. For larger areas, one might opt for a French polish technique which is essentially a piece of cloth shaped into a ball and wrapped into another piece of cloth and dipped into the shellac. The main idea is to dip and apply the shellac using smooth even strokes.
I generally apply 2-3 coats of shellac, and between coats smooth the surface with 4-zero steel wool.
Final thoughts
I am certainly not the foremost expert in veneer repair but along the way, I have mastered the fundamentals. Each project offers its unique challenges and this one was no exception.
I was somewhat surprised that after cleaning the left and right trim pieces and shellacking both that the right side and bottom trim piece were somewhat lighter than the left side. However, the new pieces added to the right trim section matched quite nicely. This shows up more dramatically in a photograph. But I think the lighting had a lot to do with the contrast. The light and shadows of the clock combined with the sun coming in from the right side of the clock seem to make the difference more pronounced.

It is also possible that the right side was tinted to match at one time and cleaning removed the tint. Comparing it to other ogee clocks in my collection for some there is a slight variation from side to side and top to bottom but not as striking as on this clock case.

At the end of the day, I am pleased with the final result. I would imagine that in time the new or lighter sections of the case will darken somewhat.
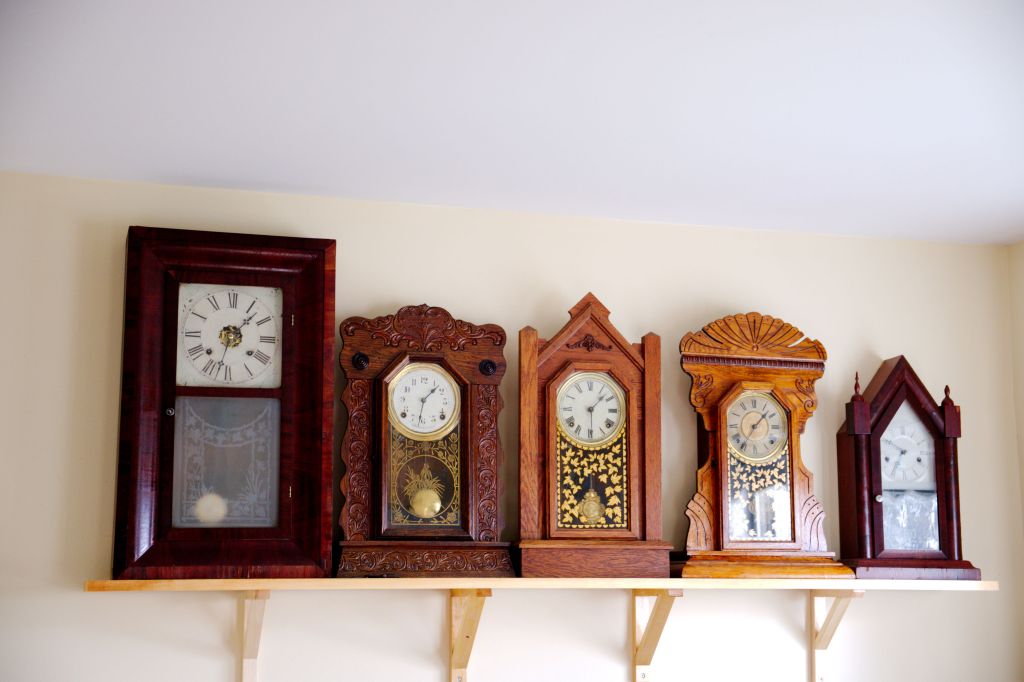
I can now add it to other Canadian clocks in my collection.
Discover more from Antique and Vintage Mechanical Clocks
Subscribe to get the latest posts sent to your email.

Ron, I sure do enjoy your posts, this one especially. I, too, have a great affinity with the ogee clocks and probably own half a dozen of them. Two of them have “wooden works” without any brass wheels, etc, and the rest are the traditional brass movements. Some seem to work and some do not. In the summer, when the weather is better for traveling, I’d love to see your collection sometime. Even better, I would like to learn more about how these old movements work (maybe take one apart!) under your skilled eye. If you ever consider renting yourself as a teacher, I would take you up on that! Anyway, keep writing those blog posts! Steve J
LikeLike
Thanks. We’ll certainly touch base at some point.
LikeLike