
Solar time and strike mantel clock by Eatons – first look
January 19, 2021
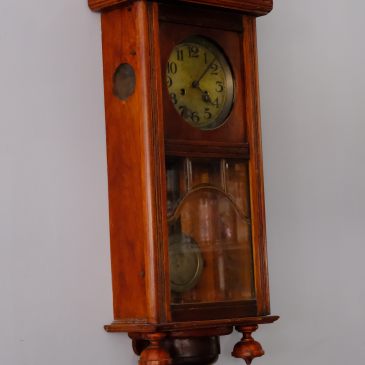
In the 1960s, T. Eaton & Co., one of Canada’s most iconic department stores, offered a variety of home goods to suit the tastes of the era. Among their diverse range of products was a charming collection of clocks, including the small but striking mantel clock that continues to capture the attention of collectors today. … More Solar time and strike mantel clock by Eatons – first look


You must be logged in to post a comment.