
New Haven Sharp Gothic (Steeple) clock – Part II – a poor solder repair is the culprit
August 19, 2019
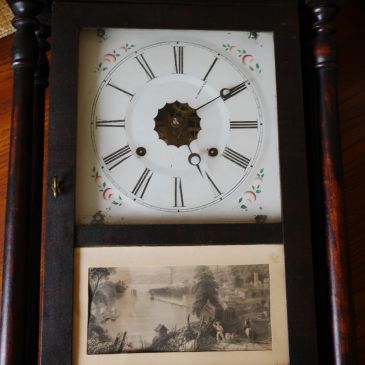
This is Part II of a two Part series on a New Haven Sharp Gothic (Steeple) clock. This blog-post is about servicing the movement. My recently acquired New Haven Gothic Steeple 30-hour clock is an online auction win. The case is in very good condition apart from minor veneer issues on the base and the … More New Haven Sharp Gothic (Steeple) clock – Part II – a poor solder repair is the culprit


You must be logged in to post a comment.