
Looking Beyond the Surface: How Survivorship Bias Shapes Our View of Antique Clocks
July 11, 2025
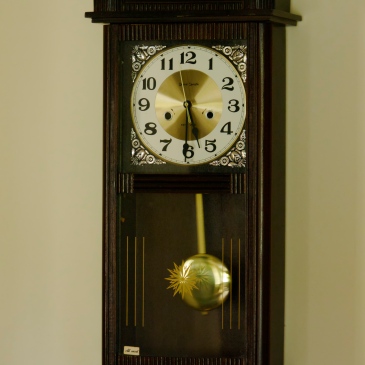
If you’ve ever browsed an antique shop or clock auction and marveled at the craftsmanship of century-old clocks, you might find yourself thinking: “They sure made things better back then.” And while that’s sometimes true — many antique clocks were built with care and skill — there’s a hidden trap in that assumption. It’s called … More Looking Beyond the Surface: How Survivorship Bias Shapes Our View of Antique Clocks


You must be logged in to post a comment.