This is Part II of a three (3) part series. In Part I, I discuss disassembly and servicing the mainsprings. In this, Part II, the movement and in Part III we will look at restoring the brass case.
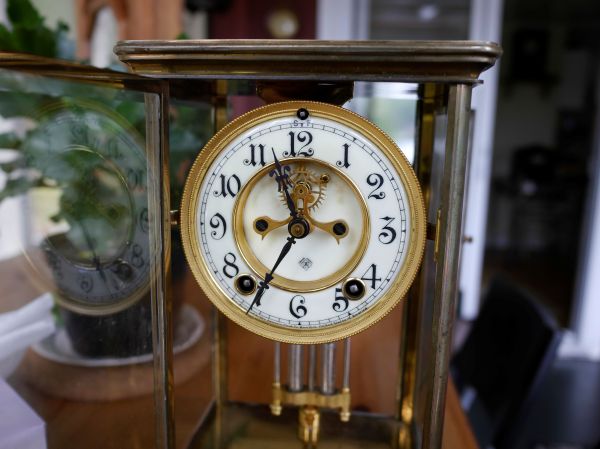
My wife found this 1910 Ansonia Crystal Regulator in the late summer 2018 while antique shopping. What a great choice! We were in a hurry and despite a price reduction we should have asked the proprietor to show us that it worked. We returned home and to our dismay, it was not running.
In Part I of this two part series I discuss disassembly and the big question; how to service the mainsprings.

The movement
There are 4 screws that release the plates. The 3 pin gathering pallet and hour gear must be removed to facilitate servicing. It is possible to re-assemble the movement without removing those two parts but it is very frustrating. To remove them assemble the plates. Using two small blades (small screwdrivers) positioned 180 degrees apart from one another will work. As these movements are visible, any scratches will show, so, placing masking tape on the plate will prevent scratches. Wedge both screwdrivers and the parts should pop off. The gathering pallet flew across the room (not ideal) but it worked.
Twisting the top regulator pivot bracket on the front plate upwards allows the pallets and crutch to come out from between the movement plates.
Clean parts in the usual way but do not put the pallet assembly in the ultrasonic if the pallets are jeweled. The ultrasonic machine will loosen the pallets.

The movement required 5 bushings and all on the front plate; S2, S3, T2, T3, and T4. Unusual but understandable given the placement of the gears.
Getting it all back together
Putting the plates together with gears in place is fairly straightforward. It takes a gentle twisting to get the pallet assembly in position however, there is no need to force anything.
Most of the strike assembly is on the outside but it is important to set up the warning correctly. There are two wheels with stop pins.
Thanks to reader Bob G. for explaining the following. The wheel with the stop pin closest to the outside of the plate is the stop wheel. That is held back by the tab coming through the plate from the back of the movement. The next wheel that has a stop pin is the warning. As the hour arbor lifts the lever to begin the strike sequence, the warning pin holds everything back until the correct moment. That second stop pin should be at about the four o’clock position when looking at the movement from the front.
If the stop pins are in the correct position, you must adjust the position of the pins on the gathering pallet. If you hold the wheel next to the fly, you can grip the pallet with a needle nose pliers and turn it until the pins clear the rack. Otherwise, the pins on the gathering pallet will lock the rack and the clock will only strike once on the hour and half hour.
All adjustments have been made and the movement has been fully assembled and now onto the movement test stand.


You must be logged in to post a comment.