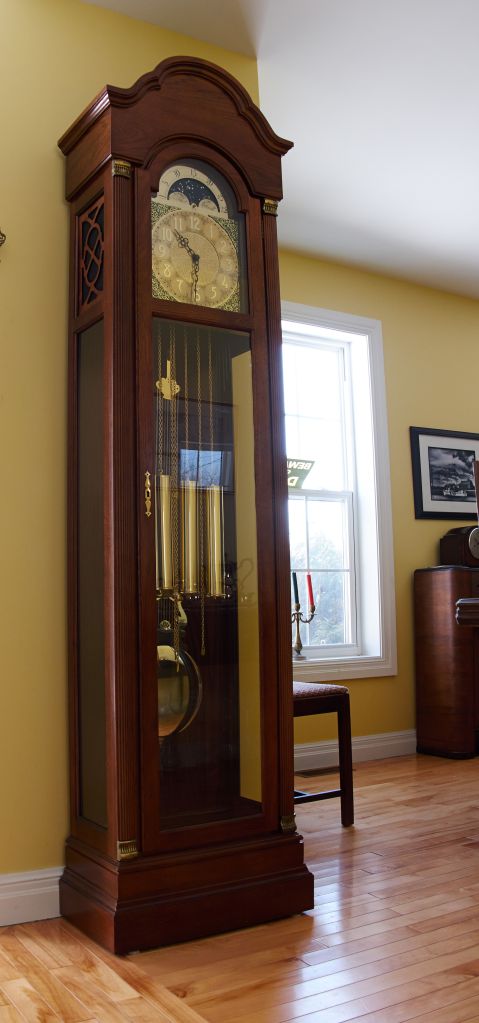
You’ve decided on a new location for your grandfather clock. Now it is time to set it up.
Before you do anything ensure that the clock is level and preferably on a hard surface. Wood floors are great but carpeted floors are not optimal. There are 4 leveling wheels or points on the bottom of the clock. Using a spirit level spin the leveling wheels or points counterclockwise or clockwise to achieve a perfectly levelled clock. If you wish to screw the case to the wall to stabilize it, this can now be done as long as it is standing straight up and not leaning backwards. Stabilizing the case also reduces sympathetic vibration.
Steps for setting up your clock
- Release the chains or cables that were bundled during transport.
- Hook the weights. If you had marked them or if they have location direction on the bottom (L, C, R; “L” for left, “C” for centre and “R” for right) ensure that the correct weight goes where it should. The weights are not the same although they may look identical. On most modern grandfather clocks each weight provides the motive power necessary to operate the time, chime and strike trains of your grandfather clock. The manufacturer has determined that a weight powered by an exact number of lbs will affect how the clock will run. For example, the chime train requires a specific weight. If the weight is too light the chimes will run slowly or not at all. Generally speaking, the heaviest weight goes on the far right side chime train, as it needs more power to run the chime hammers.
- Pull the weights up if your clock has chains or use a winding crank to bring the weights up if equipped with cables. For a properly striking and chiming grandfather clock the weights will more or less descend at the same time. Check through the side vents that the cables are not tangled. A tangled cable will stop the clock.
- For cables: not only check to make sure that the weight is hooked but the cable is also in the cable pulley.
- Release the chiming rods by carefully pulling off the protective Styrofoam or cardboard.
- Return the side vents or access panels that slot in from the inside. They will drop into their channels.
- While holding the pendulum guide with one hand (using cotton gloves), slip the pendulum in through the front door with your other hand an place the pendulum hook over the pin or through the slot on the pendulum guide, and lower the pendulum until it is hanging securely on the pendulum guide.


Consult your owner’s manual for setting special features not covered above.
Enjoy your new or relocated grandfather clock.

I really think that every of us should have a grandparents’ piece of history in a corner of their own home, because it’s good for us to know our past, in order to better build our future! Ron, as usual, I enjoyed your passion to share your hobby! Cătălin
LikeLike
People would like to have them but they take up a lot of space. Thanks for your thoughts.
Ron
LikeLike